Omnipod® 5:
Dexcom G7 Sensor Issues
What do I do if I get a "Sensor Not Found" or “Missing Sensor Values" alarm?
Learn how to fix communication issues between your Omnipod 5 app and your Dexcom G7 CGM System sensor.
Why does this happen?
Communication issues may occur after activating a new Pod, after switching to a new Dexcom G7 sensor, or during normal system operation. This could be due to reasons such as Pod and sensor placement, use of the Dexcom G7 receiver with certain Dexcom G7 sensors, or an incorrect Dexcom G7 pairing code and serial number entered in the Omnipod 5 app. You may see the following messages or alerts in the app:
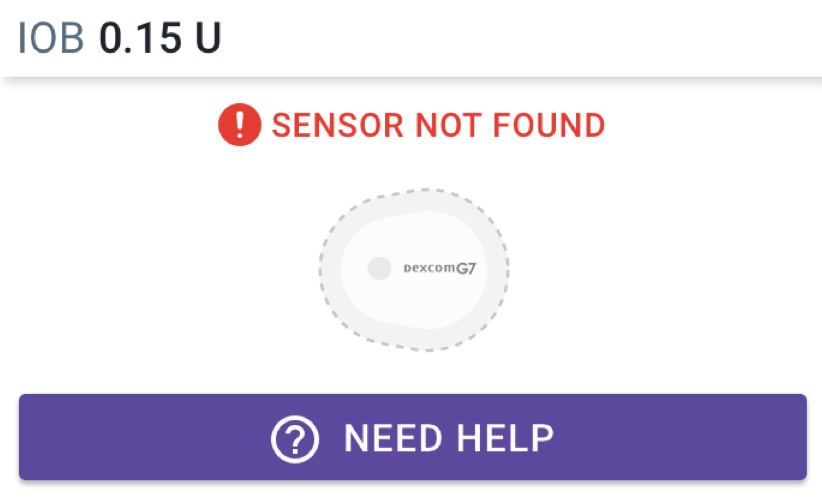
Android:
iPhone:
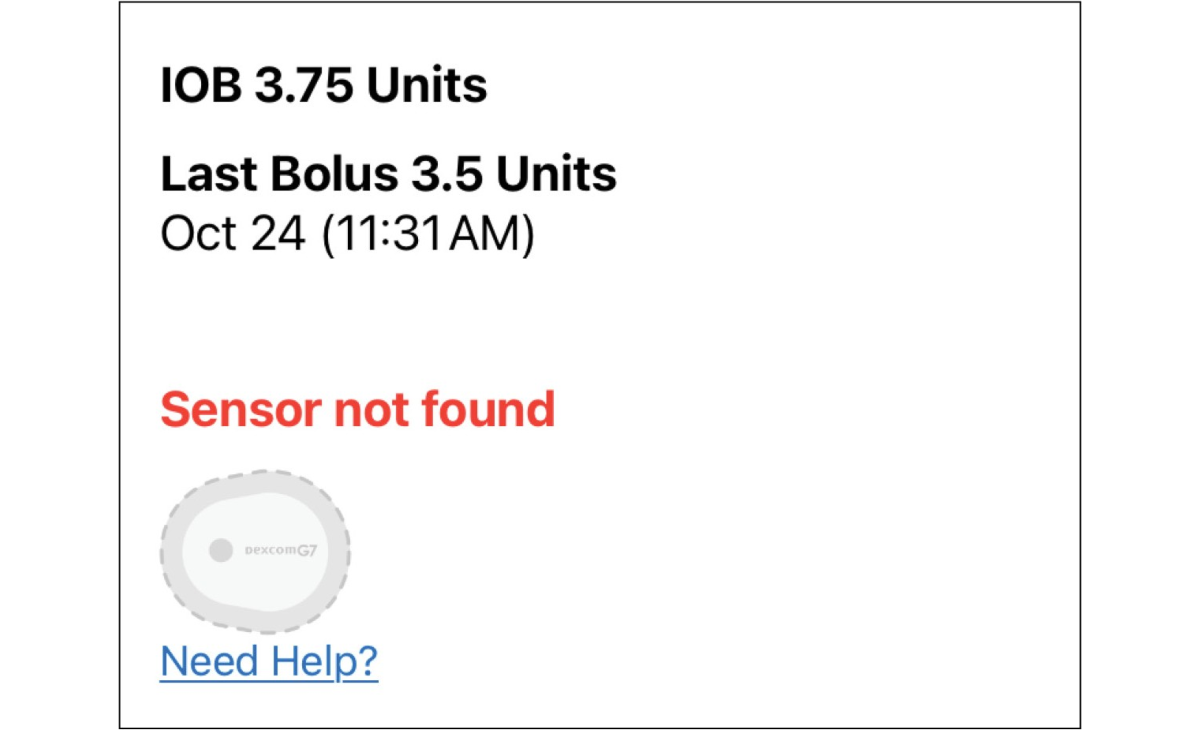
If a Pod is unable to connect with the sensor within 25 minutes, you will see “SENSOR NOT FOUND”.
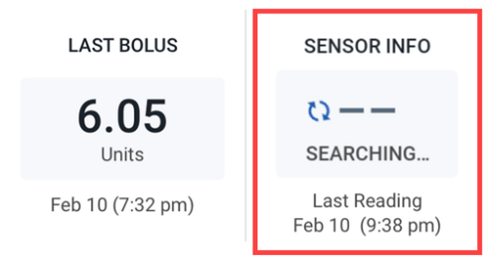
Android:
iPhone:

On the Omnipod 5 Controller or Android app, the SENSOR INFO display will show “Searching…” in the Insulin tab. On the iPhone app, the “Searching for Sensor…” message will be on the Home screen. This message is shown when the most recent glucose value is not received in a 5-minute window and it often resolves itself.
If the issue does not resolve on its own, continue to the troubleshooting steps below.
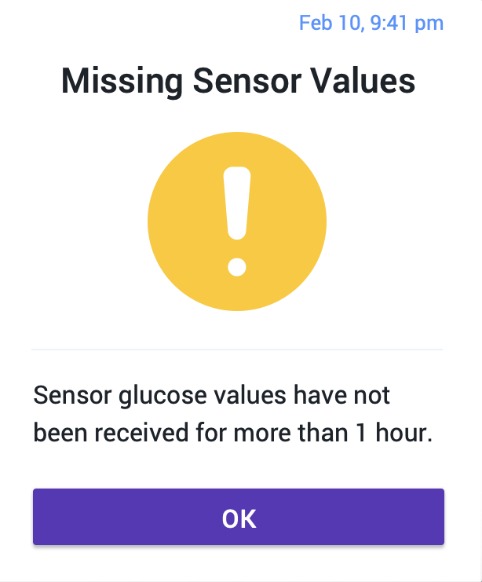
Android:
iPhone:
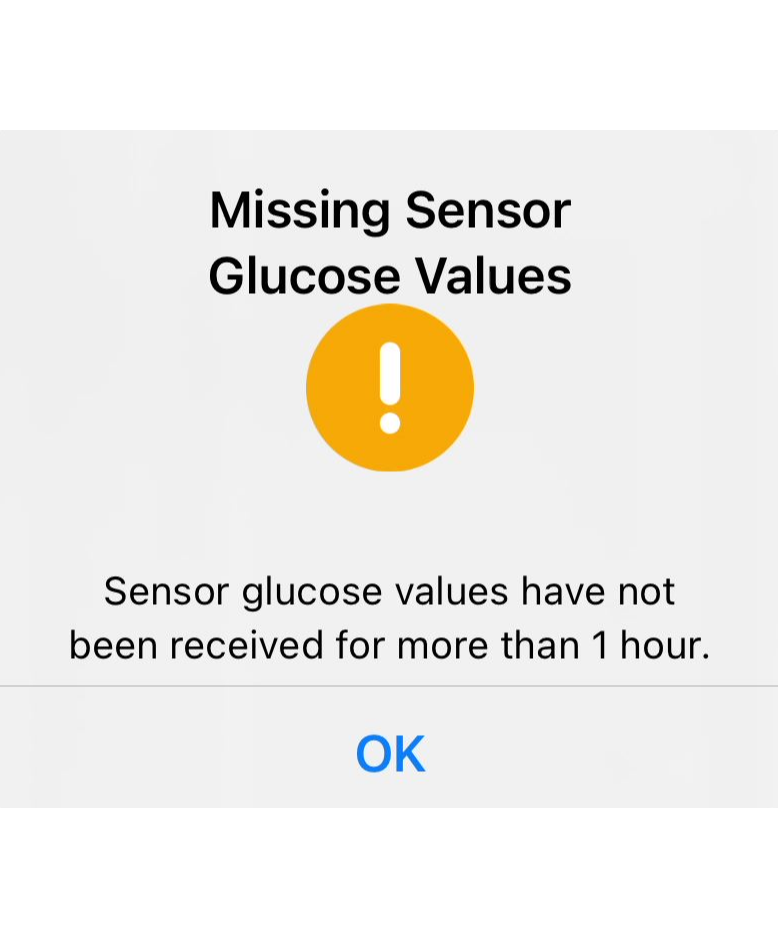
A “Missing Sensor Values” Alert will occur when the Pod has not received any glucose values for more than one hour. This only occurs in Automated Mode and may be seen when your sensor is in the warmup period.
What should you do?
- If you are using the standard Dexcom G7 sensor, you must use the Dexcom G7 app on a compatible smartphone* to use the Omnipod 5 System in Automated Mode. Make sure your Dexcom G7 receiver is powered completely off. Click here to find out if the Dexcom sensor you are using can use the Dexcom receiver and the Omnipod 5 System.
- Check your Dexcom display device (either the Dexcom G7 app or receiver) to make sure sensor readings are present. If you do not have any sensor readings or if Dexcom-related issues are present, and it is outside of the sensor warmup period, contact Dexcom for assistance
- Make sure no other Pods that have been previously discarded are within 20 feet (6 meters) of your Controller or compatible smartphone*
- Confirm that the Dexcom G7 pairing code and serial number (SN) entered in the Dexcom G7 display device and Omnipod 5 app match the one on the sensor you are wearing
- Make sure that your Pod and sensor are in line of sight. They should be worn on the same side of the body in a way that the two devices can “see” one another without your body blocking communication. For example, if your sensor is worn on the back of your arm and the Pod is on the opposite leg, the signal may be interrupted. Refer to Dexcom Sensor Placement in the Omnipod 5 Technical User Guide
- For a compatible smartphone*, toggle Bluetooth on and off and remove other devices that may be connected to Bluetooth
- For the Omnipod 5 Controller: Turn Airplane mode ON and OFF to reestablish connection
- Tap Menu-Settings-General-Airplane Mode-SEE MORE
- Tap the Airplane Mode toggle to turn Airplane Mode ON and then OFF
- Make sure Wi-Fi is ON, after turning Airplane Mode OFF
- If using a compatible smartphone, toggle Bluetooth OFF and ON and remove other devices that may be connected to Bluetooth
- Wait up to 20 minutes after Pod activation for the values from your sensor to appear in your Omnipod 5 app
*For a list of compatible smartphones, see Omnipod 5 Smartphone Compatibility.
What if my Pod and sensor still won’t connect?
Consider troubleshooting by deleting the Dexcom G7 pairing code and serial number (SN) and then re-entering them in your Omnipod 5 app. See below for instructions. This will reset the communication between the sensor and the Pod.
Note: You must be in Manual Mode to manage your sensor pairing code and SN. Refer to Switching from Automated Mode to Manual Mode in the Omnipod 5 User Guide.
How to delete and add a new sensor
Android:
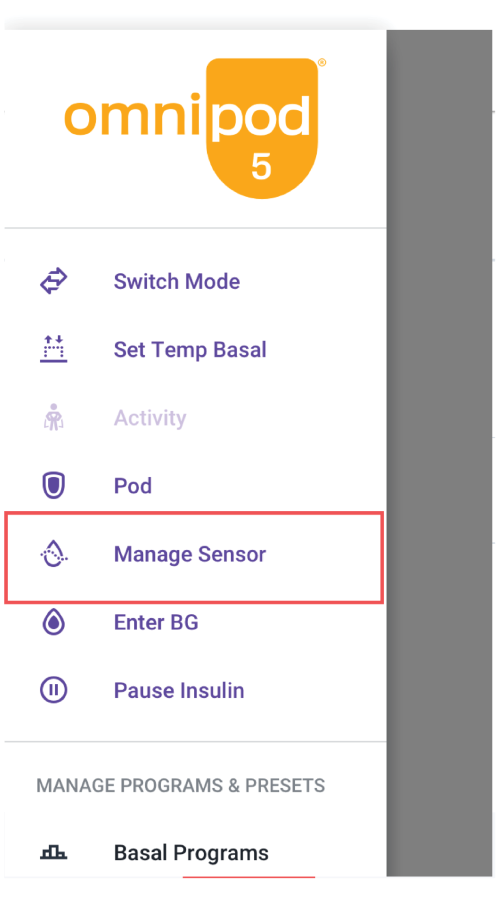
1. Tap the Menu button and select Manage Sensor
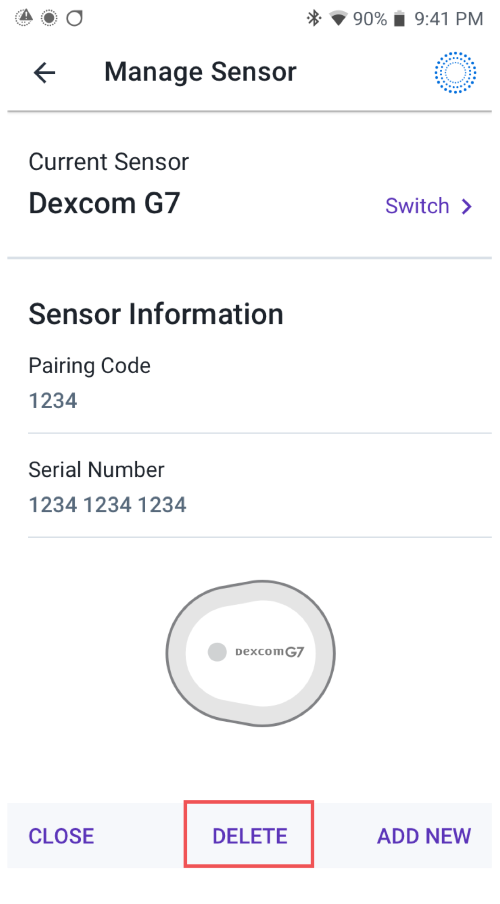
2. Tap DELETE
3. Tap OK, DELETE to confirm
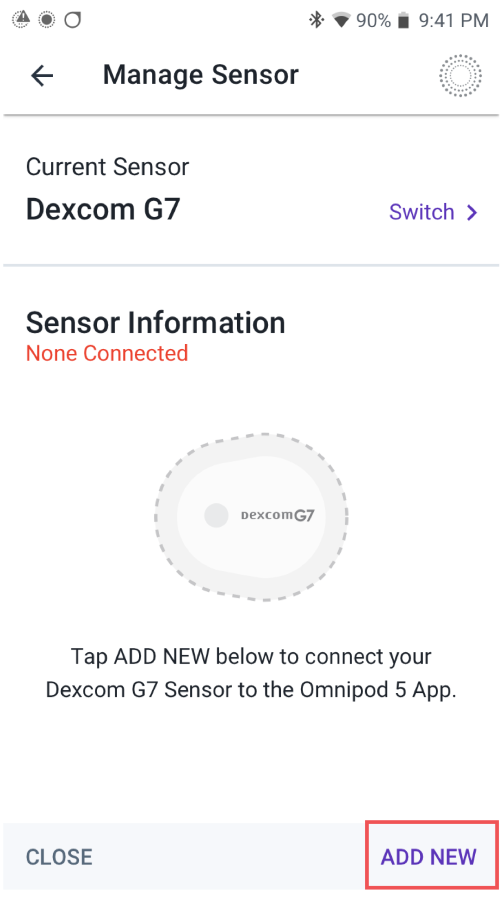
4. Tap ADD NEW
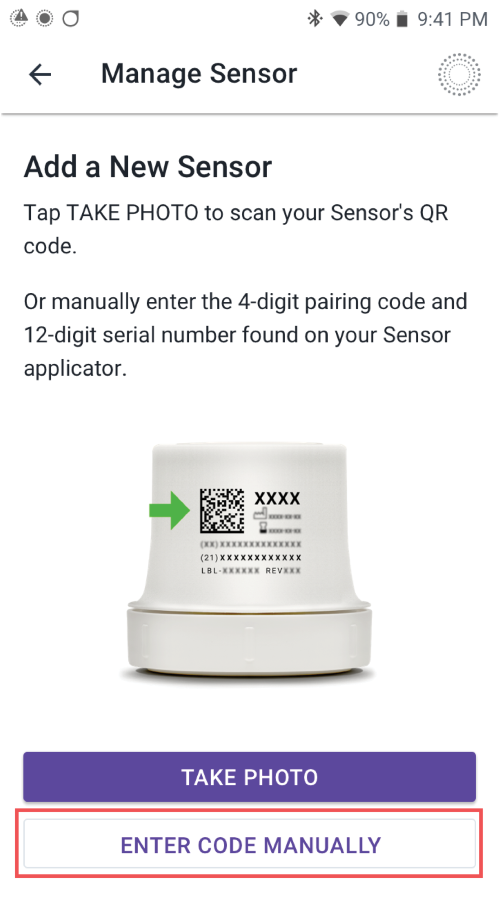
5. Pair your sensor again by using either the TAKE PHOTO or ENTER CODE MANUALLY option. With your sensor information saved, you can now switch back to Automated Mode.
iPhone:
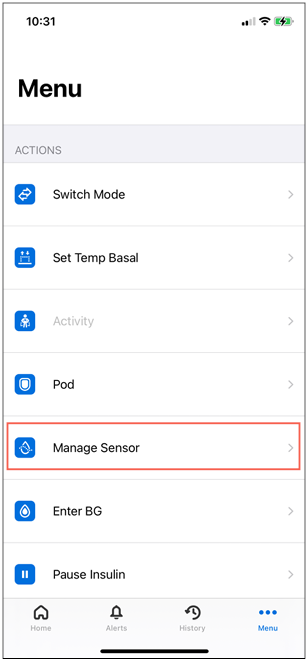
1. Tap the Menu button and select Manage Sensor
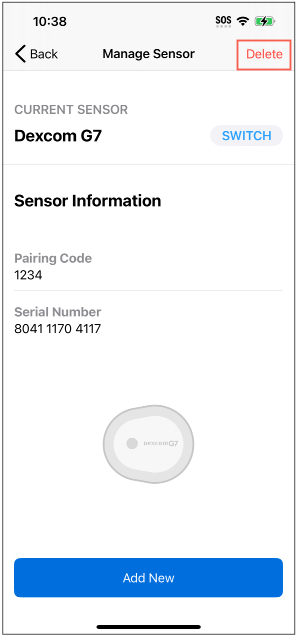
2. Tap Delete
3. Tap OK, Delete to confirm
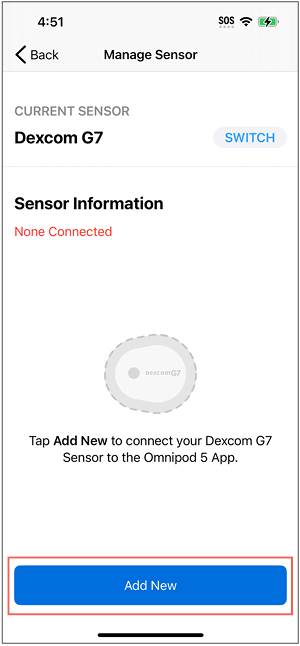
4. Tap Add New
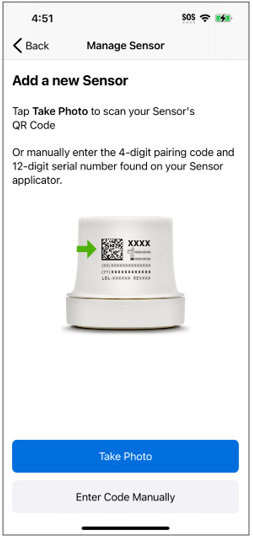
5. Pair your sensor again by using either the Take Photo or Enter Code Manually option. With your sensor information saved, you can now switch back to Automated Mode.
For more information on how to pair your Dexcom G7 sensor, click here.
If you need additional support, call Omnipod Product Support at 1-800-591-3455.