Omnipod® 5 FAQs:
Pairing a Dexcom G7
How do I pair my Dexcom G7 sensor with my Omnipod 5 System?
Learn how to pair your Dexcom G7 CGM System sensor to your Omnipod 5 System. You will need to connect each new Dexcom G7 sensor to both the Omnipod 5 app and Dexcom G7 display device (either the Dexcom G7 app or receiver) for your Pod and sensor to stay connected. You must start and stop your sensor on the Dexcom G7 display device. You can pair sensor in two ways; with a QR code scan or through manual entry.
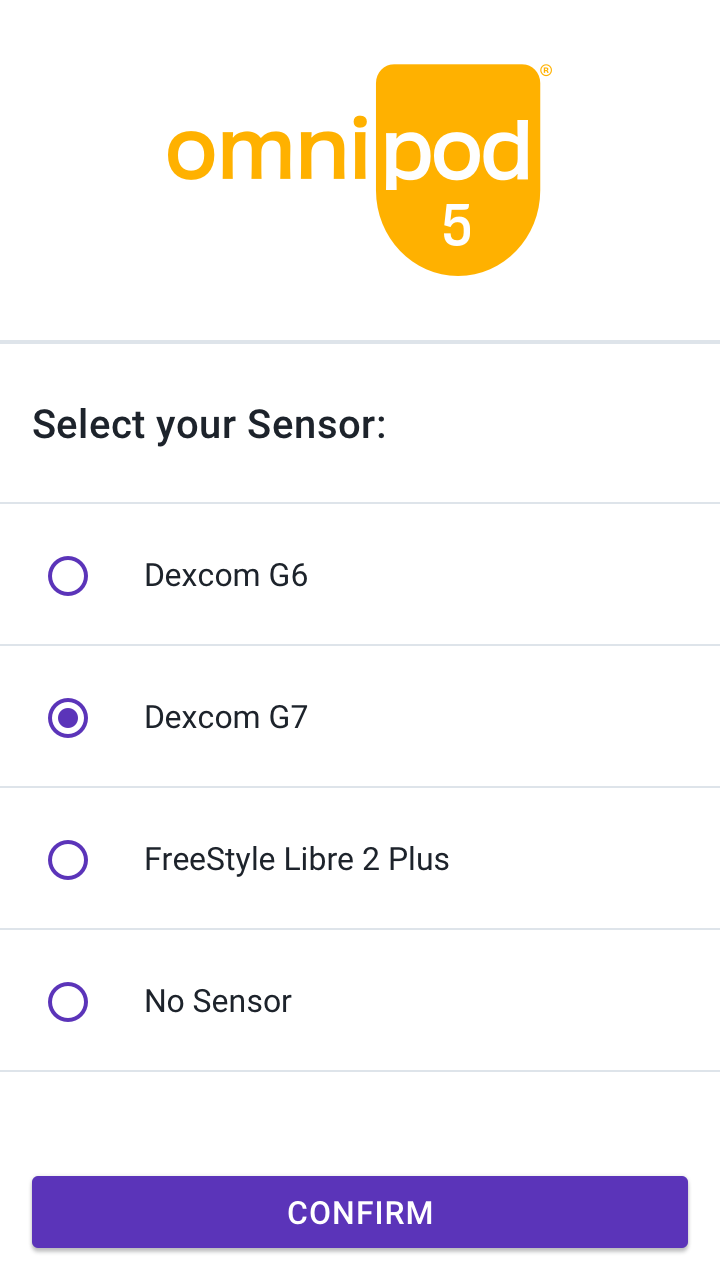
Step 1: Select Dexcom G7 as your sensor
Android/Controller
iPhone
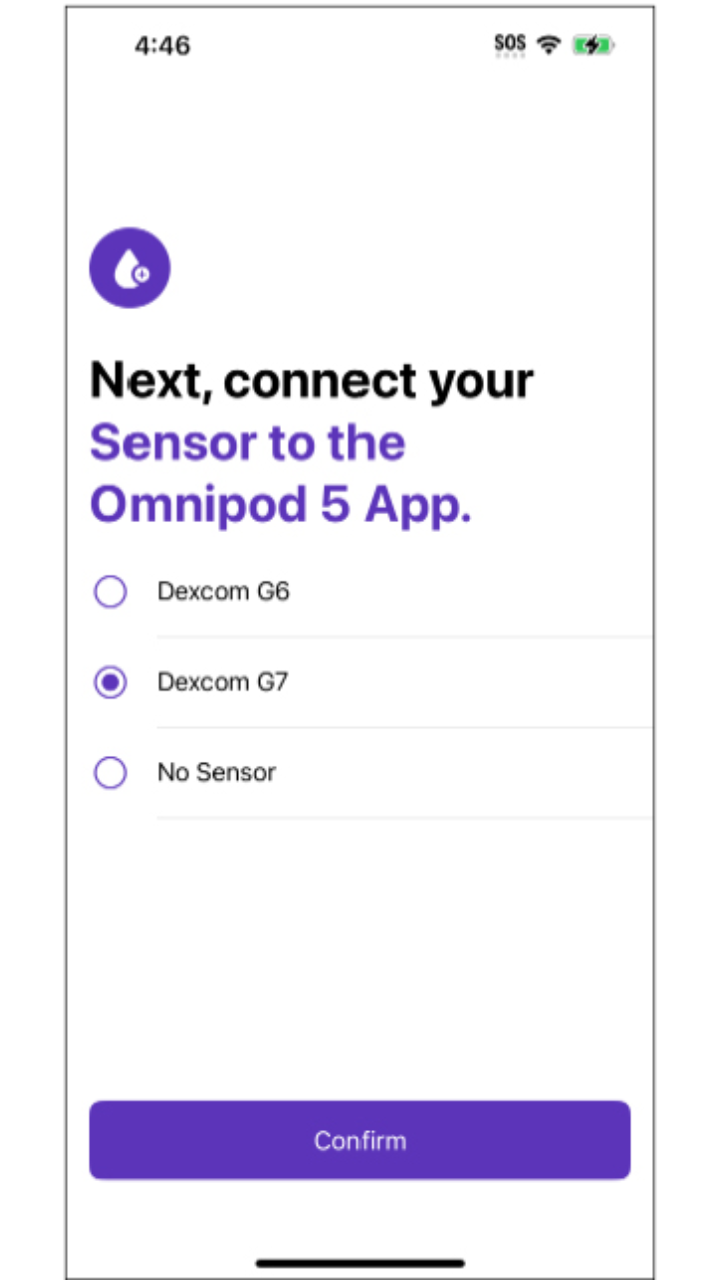
• During first time setup, select Dexcom G7.
OR
Android/Controller
iPhone
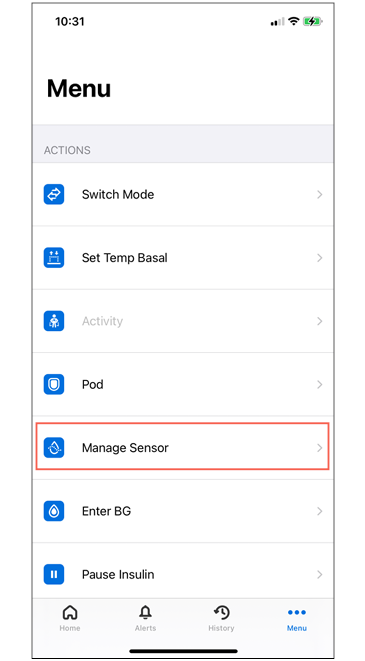
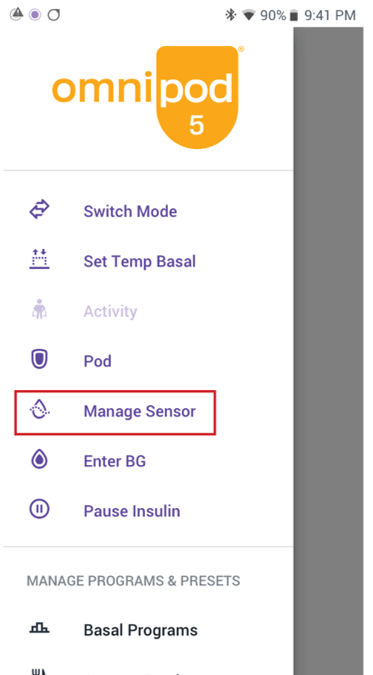
• From Home screen, tap Menu button. Tap Manage Sensor.
Step 2: Enter your sensor pairing code and serial number
Android/Controller
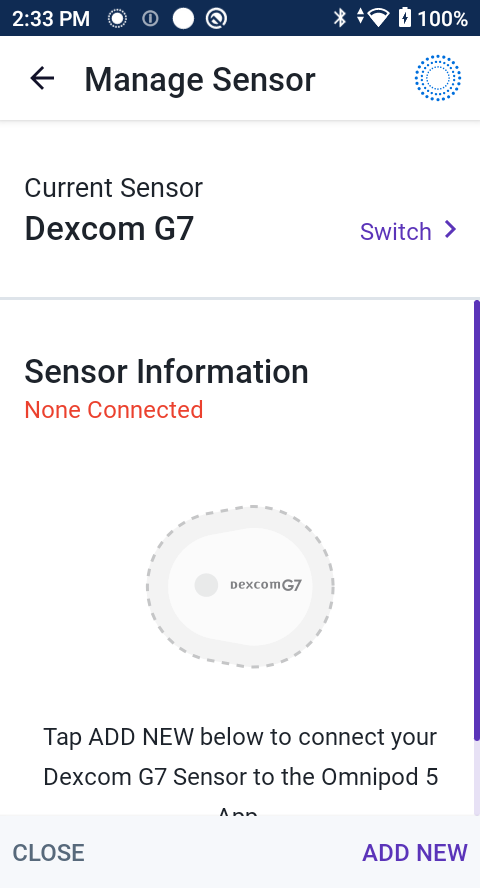
Tap ADD NEW.
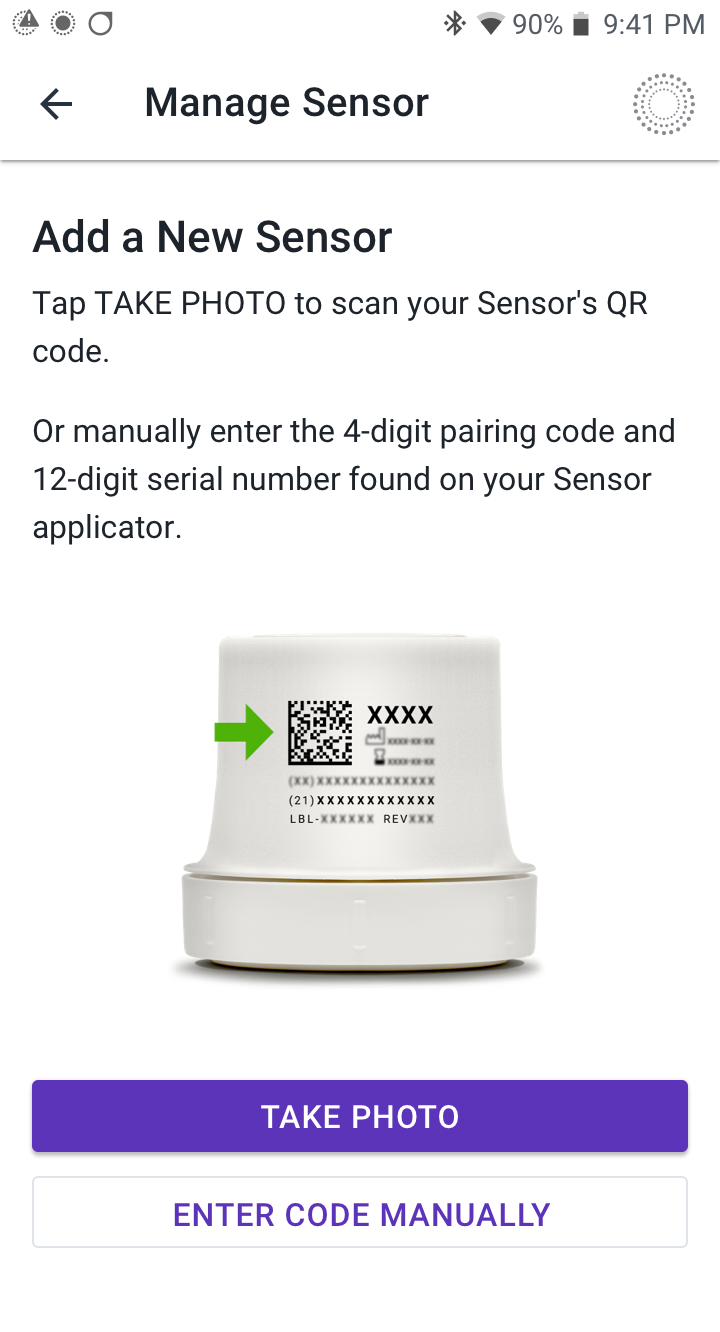
- To use the Take Photo option, tap TAKE PHOTO.
- To enter the numbers, tap ENTER CODE MANUALLY.
iPhone
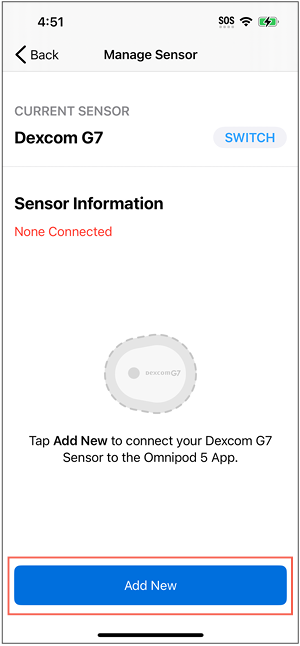
Tap Add New.
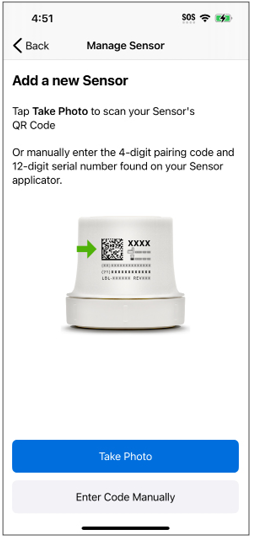
- To use the Take Photo option, tap Take Photo.
- To enter the numbers, tap Enter Code Manually.
To use the Take Photo option:
Android/Controller
iPhone
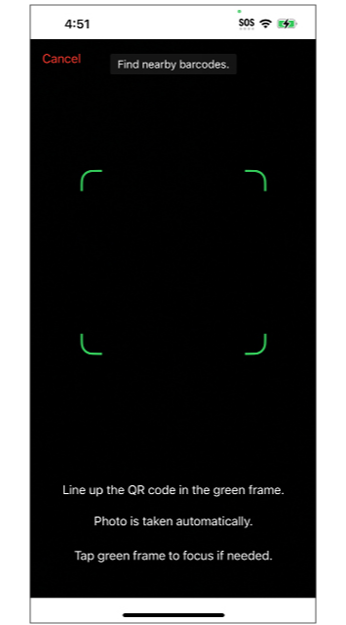
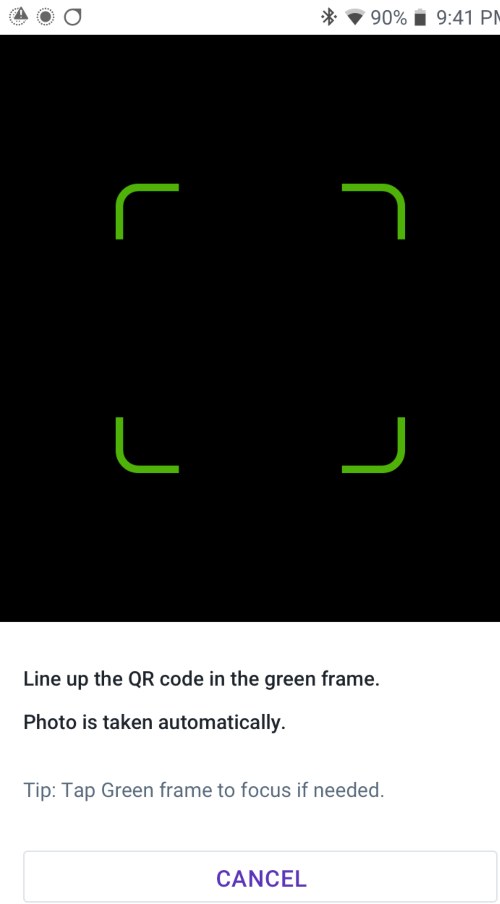
Line up the QR code in the green frame, holding both the Controller/smartphone and applicator steady for several seconds. The photo is taken automatically. It will not be stored.
Tips for a successful scan
- Clean the camera lens
- Center the QR Code within the green box on the Controller’s or smartphone’s camera screen
- Tap the area within the green box on your Controller’s or smartphone’s screen to get it to focus
- If the QR code won’t scan, try moving the Controller/smartphone or the applicator closer or further away until the camera focuses properly
- It may take up to 10 seconds until the scan is captured and the screen changes
To enter the codes manually:
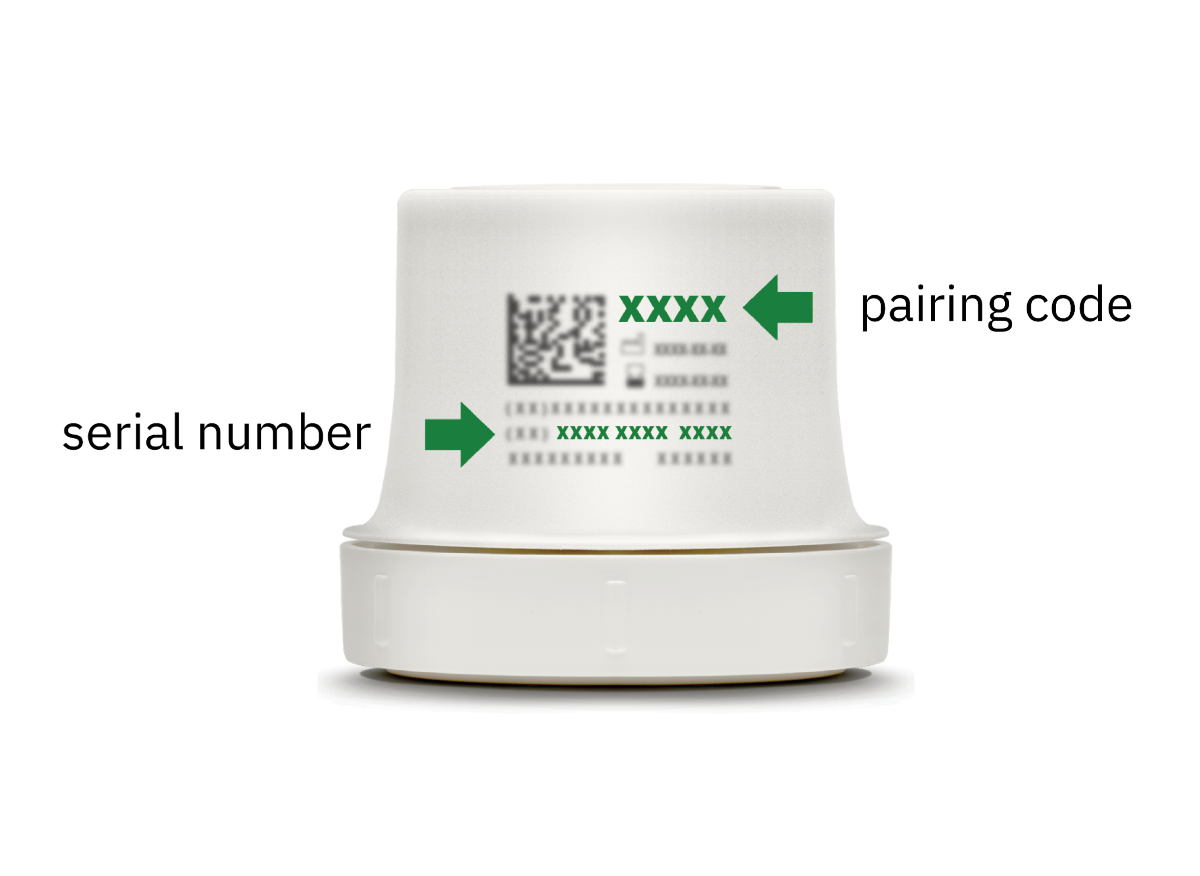
You can find the 4-digit pairing code and 12-digit serial number on the sensor applicator or Dexcom G7 display device.
Note: The 12-digit serial number is found after the 21 in parentheses (21) on the second row of the numbers.
Android/Controller
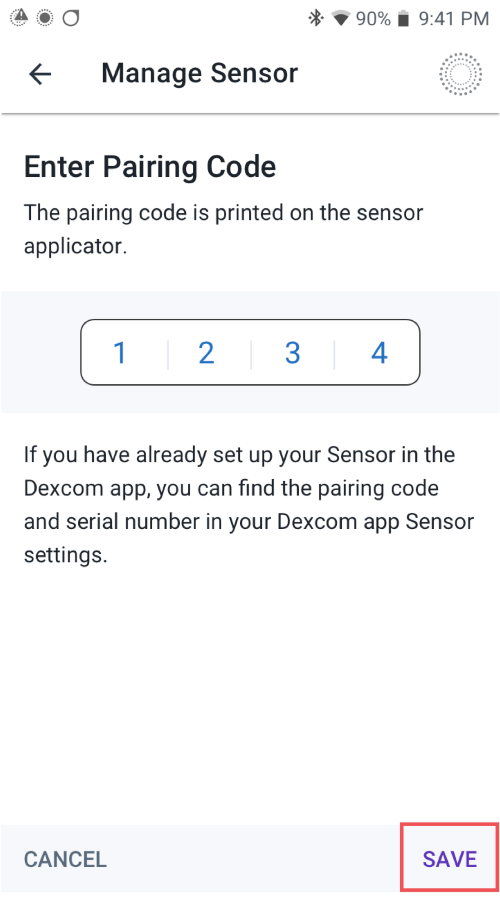
- Enter your sensor’s 4-digit pairing code.
- Tap SAVE.
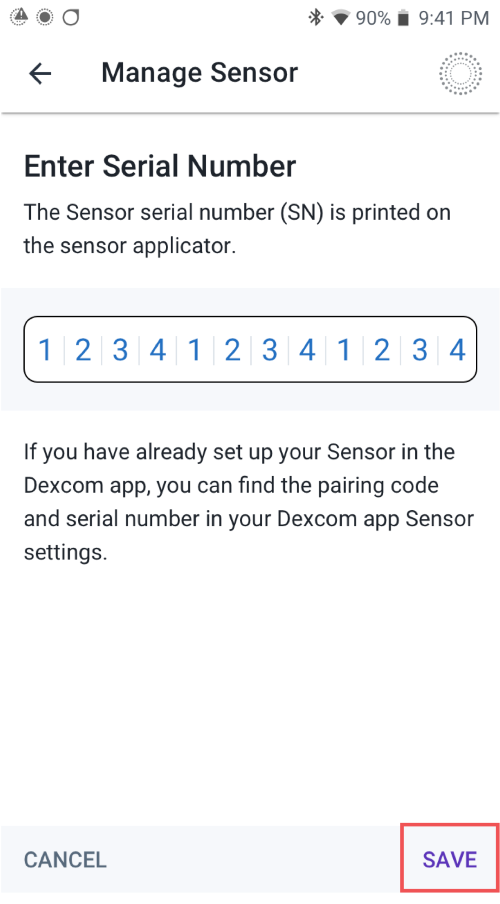
- Enter your sensor’s 12-digit serial number.
- Tap SAVE.
iPhone
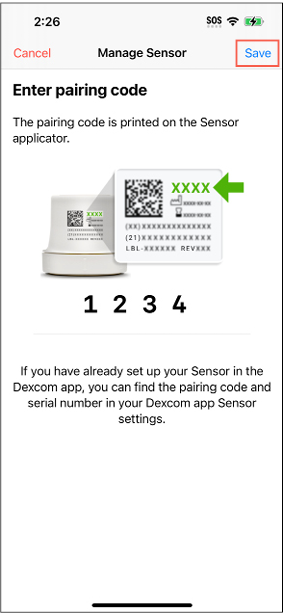
- Enter your sensor’s 4-digit pairing code.
- Tap Save.
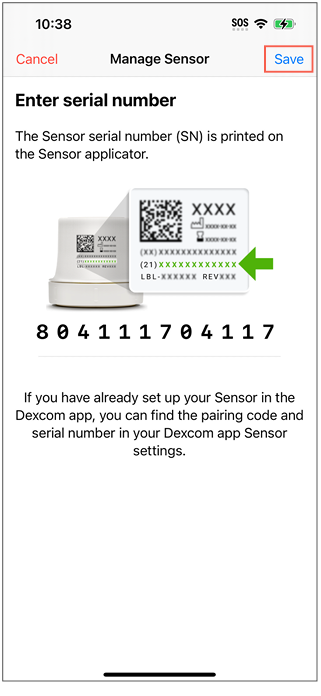
- Enter your sensor’s 12-digit serial number.
- Tap Save.
Pod & Sensor Placement Examples
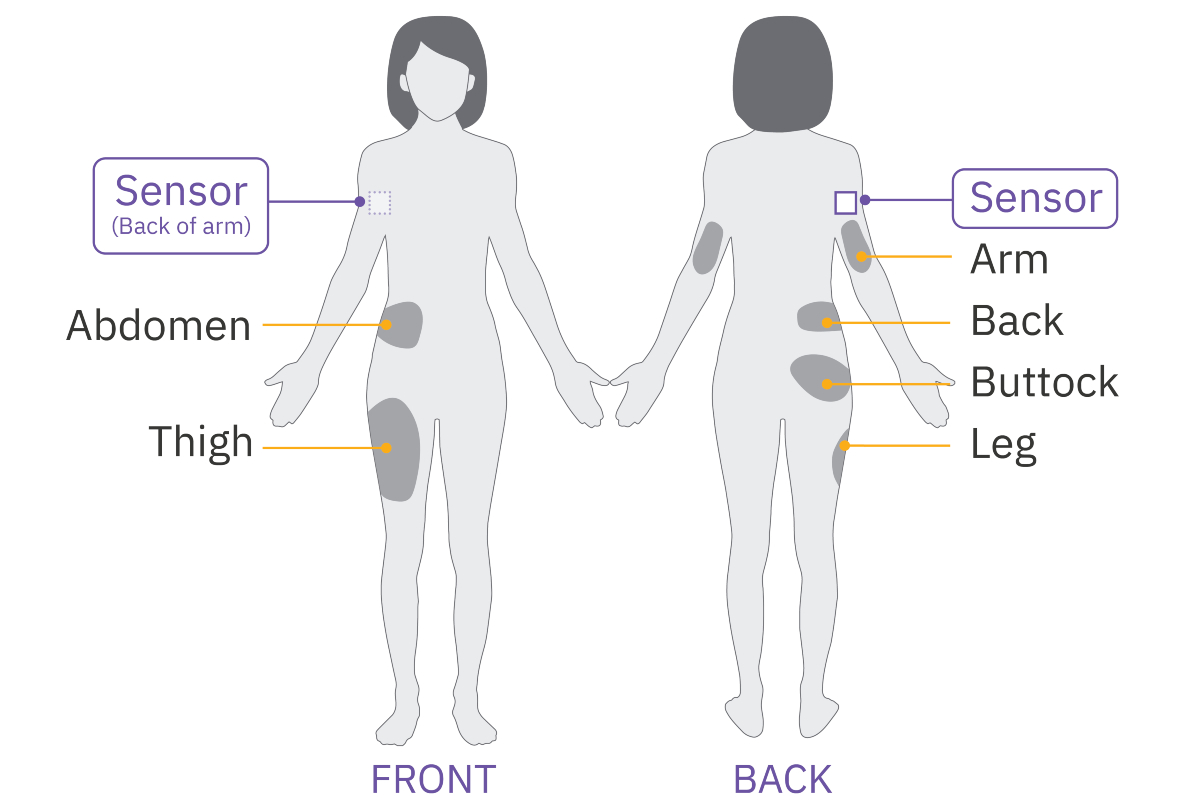
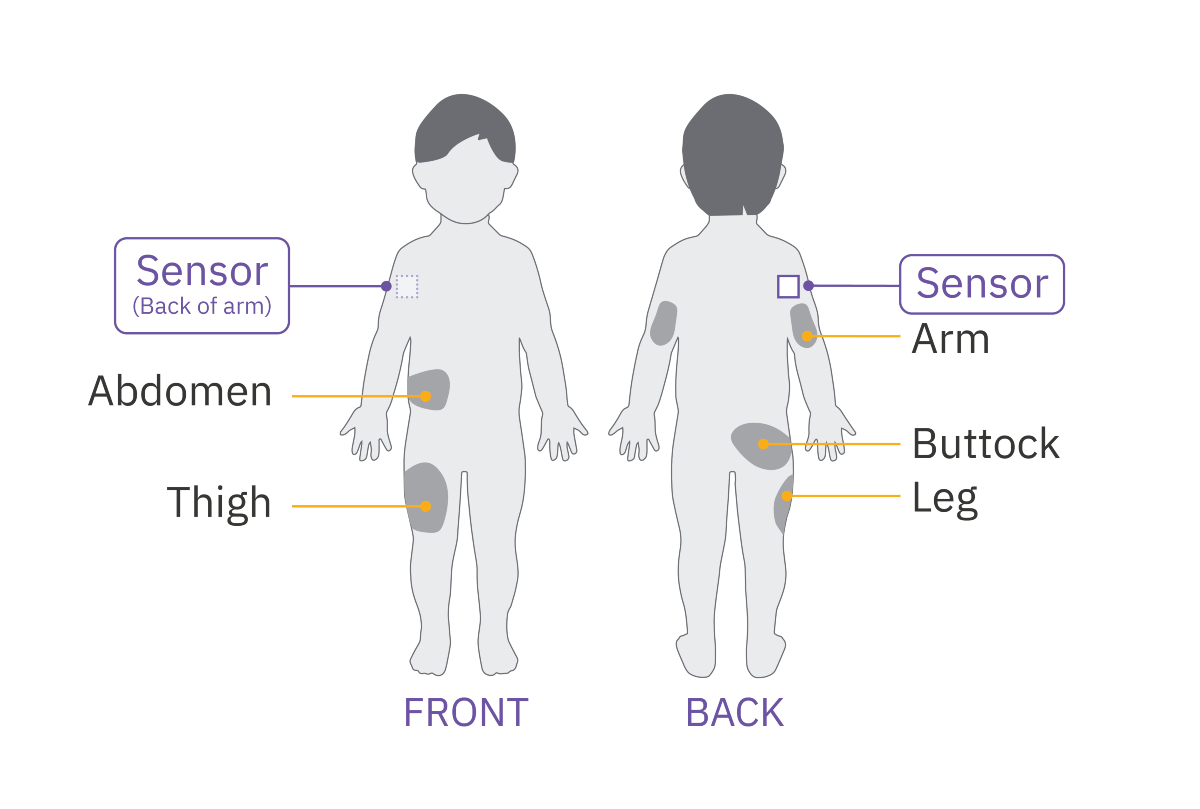
Consider these Pod placements to find the locations that work best for your body for optimal line of sight to your sensor*:
- On the same arm as sensor
- Same side, abdomen
- Same side, side of abdomen
- Same side, lower back (adult only)
- Same side, thigh
- Same side, upper buttocks
- Opposite side, back of the arm
If you need additional support, call Omnipod Product Support at 1-800-591-3455.