Traveling with Diabetes: A Guide for Omnipod® Users
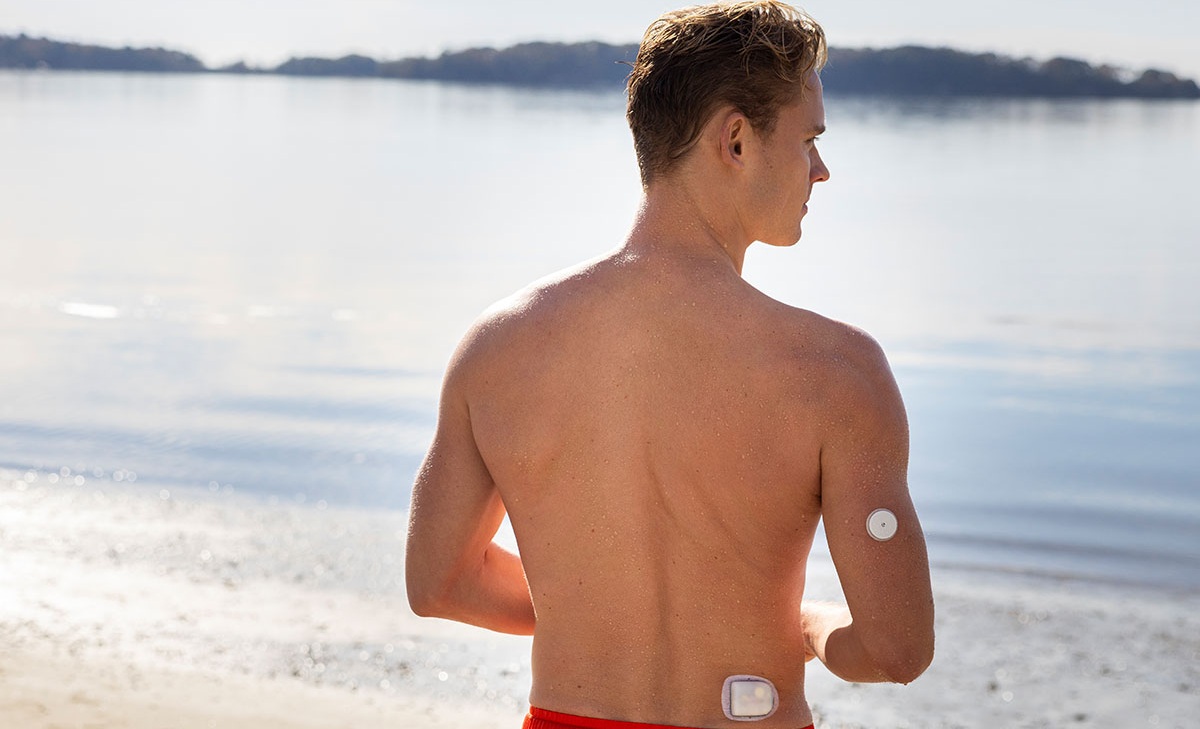
Travel is an exciting part of life, and living with diabetes shouldn’t stop you from saying yes to adventure - especially with Omnipod at your side!
With a little bit of planning and a few helpful tips, traveling with Omnipod can help you to make the most of your trip.
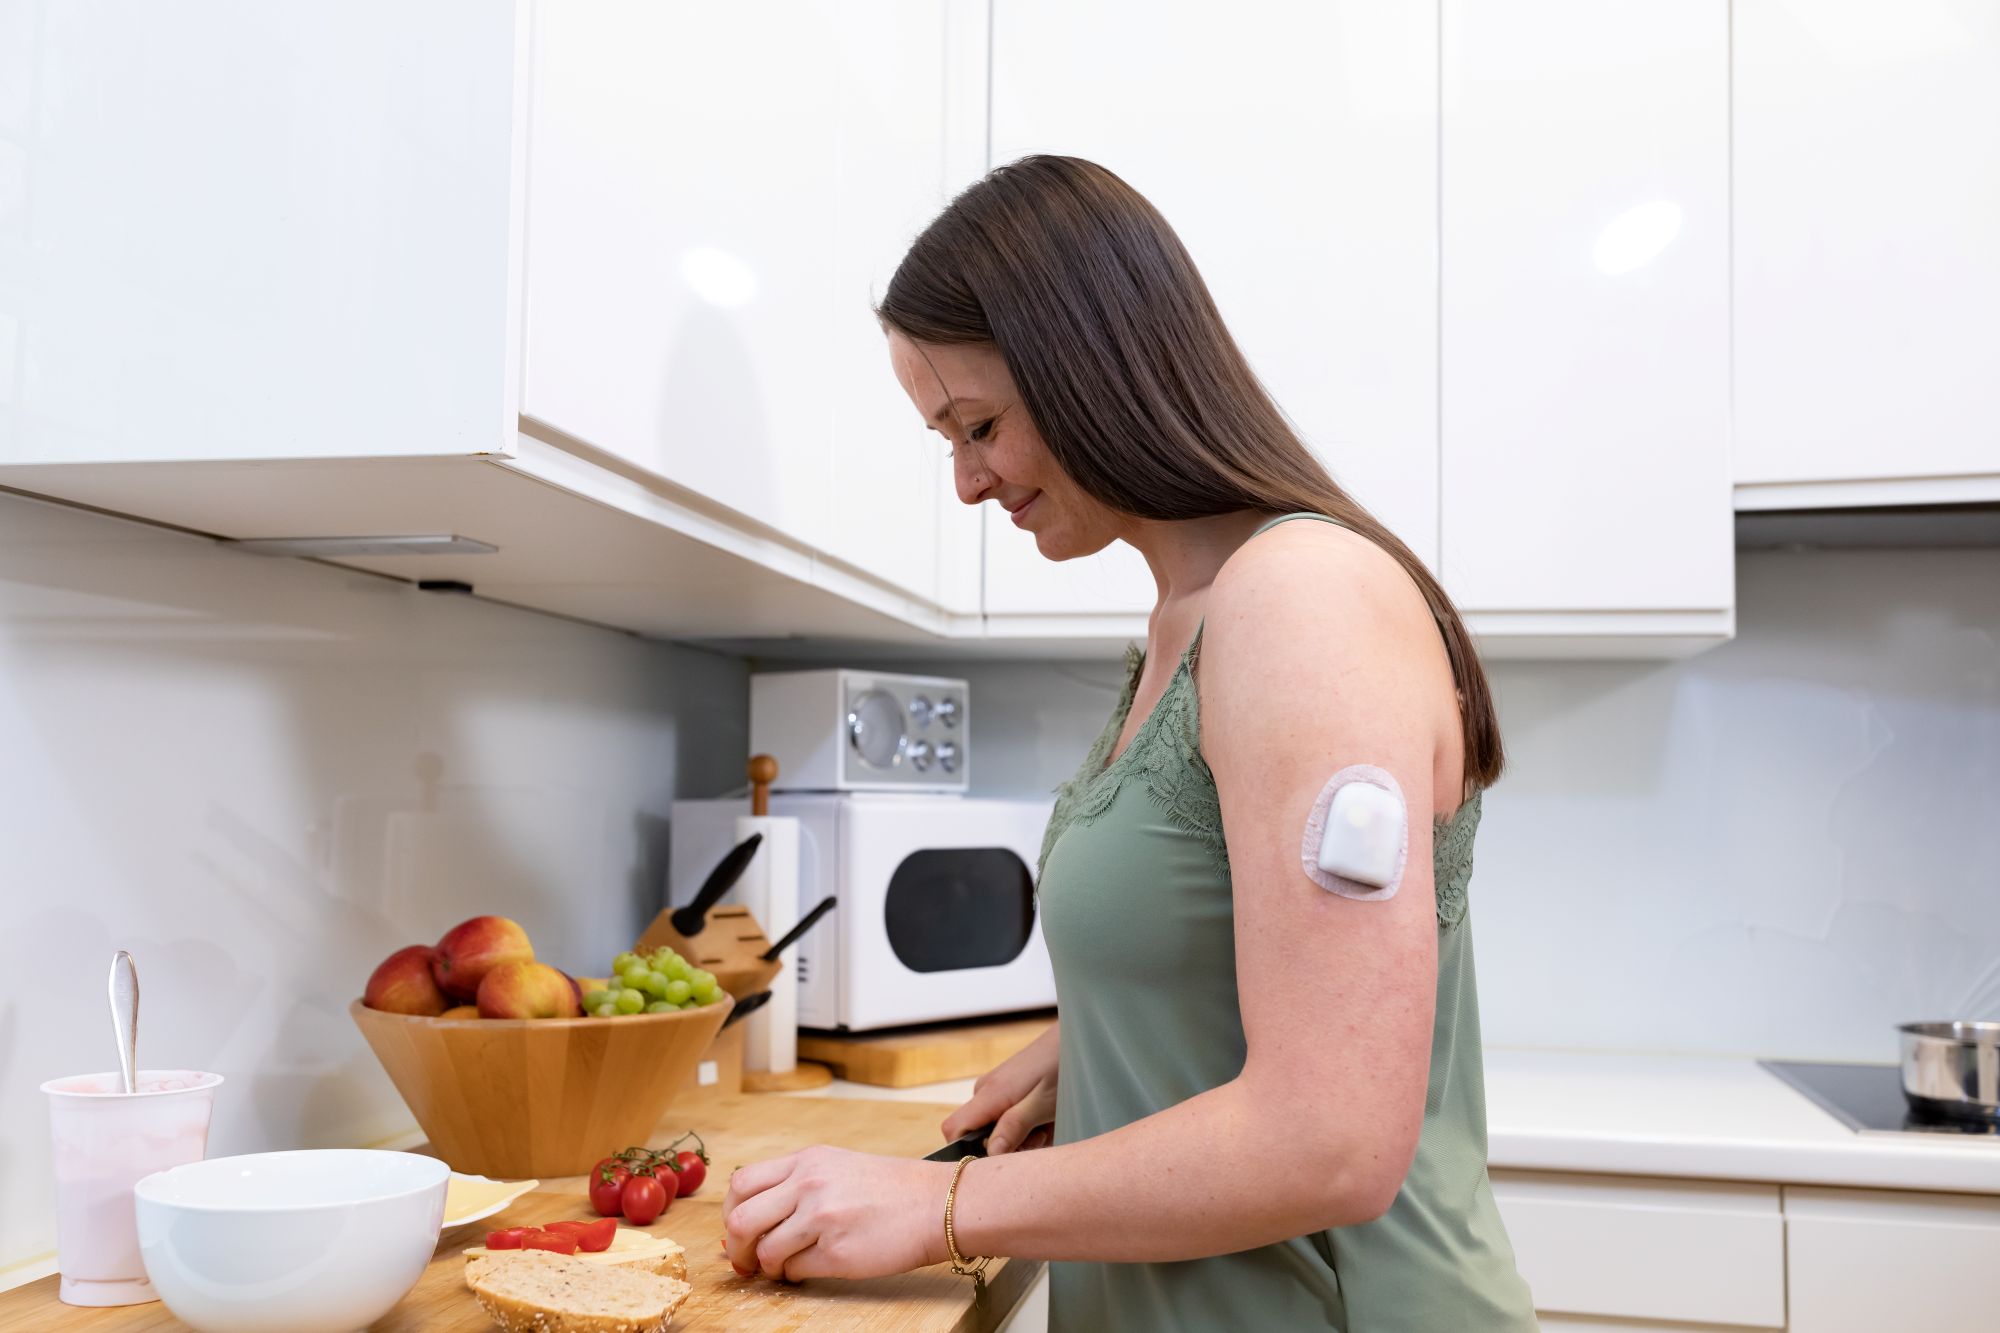
Each wearable, waterproof* Pod continuously delivers insulin for up to three days (72 hours) with no multiple daily injections and no insulin pump tubing.
Plus, Omnipod 5 Automated Insulin Delivery System proactively helps to correct highs, protect from lows and has been shown to lower A1c1-3 so you can spend more time living life and less time thinking about diabetes.
Preparing for your trip
When traveling with diabetes, the key is in the planning. With some good preparation ahead of your departure, you’ll be able to handle anything that comes up - just like you do at home.
The following topics covered on this page, should be used as a general guide only. Speak to your healthcare team ahead of your planned trip, as everyone’s individual needs will vary. Important safety information can also be found in the product user guides. (Insulet Corporation Omnipod® 5 Automated Insulin Delivery System User Guide.)
- Packing for travel with diabetes
- Documents and Travel Insurance
- Airport Security with Omnipod
- Flying with diabetes devices
- Managing meals while flying with diabetes
- Changing time zones
- Once you’ve arrived and managing type 1 diabetes while you’re away
- Accessing supplies at your destination
- Keeping insulin cool in hot climates
1. Packing for travel with type 1 diabetes
Packing for a short business trip is very different to solo backpacking across the world for two months. Speak to your healthcare team about your specific health needs in relation to the location, duration and type of travel.
Here are some general preparation tips:
Allow enough time
You need time to have conversations with your healthcare providers, and to order your medical supplies. Don’t leave it until the day before!
Write it down
Make a list of all the diabetes supplies you need to pack, using the list below as a starting point. It will also help you keep track of your supplies while you’re away.
More is more!
Your routines on your trip may be very different to everyday life, especially if it’s a vacation, and so you may go through supplies more quickly than normal. Pack extras of everything - more information on that below!
Prepare for the unexpected
There are lots of things that could happen while you’re away, for example an insulin vial could break. Hopefully that won’t happen, but packing properly means you’ll be able to adapt to whatever does come your way and get back to enjoying your trip as quickly as possible.
You’ve got this!
There’s no need to be worried. If you live with diabetes, you’ll already know that things don’t always go to plan, and that having to adapt is part of life.
How much should you pack?
As a general rule, pack two times the amount of supplies you think you will use on your trip.4 This will allow for any accidents or delays.
Accidents can happen when you mix diabetes technology with adventure, but diabetes shouldn’t stop you (or your child) from jumping in the ocean, trying different water sports* or sampling delicious foods.
What should you pack?
Here’s a starter packing list. It will vary between each person, and it’s a good idea to ask your healthcare team for help too.
All diabetes supplies should stay with you in your carry-on luggage. Do not put them into your checked luggage.
Insulin
Glucose Monitoring
Hypo Treatments
2. Documents and travel insurance for traveling with diabetes5
Diabetes Travel Documents
Travel Insurance
3. Airport Security with Omnipod6
Traveling through airport security with diabetes can be daunting, but try to remember that airport staff see all sorts of medical equipment every day, so you don’t need to worry. There are TSA policies for diabetes supplies. Click here to see what is allowed to go through security at US airports according to the American Diabetes Association.
These tips should help you feel more prepared and ensure that you pass through smoothly and quickly. You shouldn’t put your diabetes supplies in your checked luggage, so you will need to carry everything with you through airport security.
- Use a separate plastic bag for your liquid medical supplies like insulin; you do not have to put them in the clear bag you use for toiletries and other liquids.
- Check with the airline that you are flying with for their specific requirements.
- You are allowed to carry all of your diabetes supplies through airport security, including needles and syringes.6
- Diabetes supplies and devices may need to be checked by staff, but this is normal. Have your medical letter with you and allow for a little extra time.
- Tell staff that you are wearing a medical device before the screening begins. You should not have to remove your devices.
The medical letter should detail your medication (including your liquids), as well as any supplies you need to carry such as needles, and your Omnipod.
Remember, people with all types of medical conditions pass through airport security every day. There is nothing to worry about.
Can Omnipod go through airport security scanners?
Omnipod Pods, PDMs and Controllers can safely pass through airport x-ray machines. The Pod, PDM and Controller can tolerate common electromagnetic and electrostatic fields, including airport security and mobile phones.
Pods are safe to be worn through airport scanners.
For CGM and sensors, refer to the individual manufacturer’s guidance, as they may not be able to go through x-ray scanners.
If you’d rather not go through the full-body scanner wearing your devices, you can request a manual check, also known as a pat down. Your devices, and your hands, may be tested separately (swabbed)7 - but this is quick and there is nothing to worry about.
4. Flying with diabetes devices
You should keep all of your diabetes supplies with you in the cabin. Never put insulin in the checked luggage when flying as it could freeze, which will damage it.7 Checked luggage can also get lost.
The Bluetooth® setting remains enabled in the Omnipod PDM/Controller’s airplane mode so you can communicate with your Pod.
Your glucose sensor will still work if your phone is in airplane mode, and you can use it during the flight - just remember to keep your Bluetooth on.
Flying with Omnipod
Omnipod is safe to use at atmospheric pressures typically found in airplane cabins during a flight.
However, the atmospheric pressure in the cabin can change during flight, which may affect the Pod's insulin delivery.
Rapid changes in altitude and gravity, such as those typically found during flight take-off and landing, can affect insulin delivery, leading to possible hypoglycemia or injury. If needed, follow your healthcare provider's treatment instructions.
Always check your blood glucose levels frequently when flying.
You can find information regarding flying with Omnipod 5 at www.omnipod.com/safety
5. Managing meals while flying with diabetes7
Pack plenty of snacks and hypo treatments. You need to account for the journey itself and for any travel delays, but also bear in mind that shops may not be immediately accessible at your destination - especially if you are arriving late at night.
If you are unsure about taking liquids through airport security for treating a low, stick to foods like glucose tablets, or hard candy, which can be taken through airport security.
It can be hard to calculate carbohydrate amounts for airplane meals and snacks. If you wait for the food to arrive, you can look at it and judge the amount of insulin you need.
If you want to, you can explain to the cabin crew at the start of the flight that you have diabetes, and they may be able to tell you roughly if meals will be served and approximately at what time, and serve your food first. You can bring your own (non-liquid) food on the flight if you prefer.
Try to find some healthy options at airports or roadside restaurants/shops: 7
- Fresh fruit with nuts
- Sandwiches on whole wheat bread with grilled chicken or fish
- Salads - limit higher fat toppings like fried chicken, cheese or creamy dressings
- Scrambled or hard-boiled eggs
6. Changing time zones
Don’t forget to change the clock on your PDM/Controller to match your destination.
If you do not update your time zone, your insulin therapy will be delivered based on your old time zone, which may cause disruptions in your insulin delivery schedule and inaccurate history log.
You may need to adjust your Basal Programs on your PDM/Controller (For Omnipod® 5, these are the programs you would typically follow in Manual Mode). For changes of just a few hours, basal rate adjustments are minor and easy to calculate.
For long-distance travel, however, figuring out the correct Basal Program can be more challenging. Your healthcare provider can help with these adjustments.
For Omnipod 5, the SmartBolus Calculator relies on accurate, updated insulin delivery history and data logging from your Omnipod 5 System. If a time zone change is detected by the Controller, the system will notify you.
7. Once you’ve arrived and managing diabetes while you are away7
You may need to make some changes to your diabetes management in the first few days as you get used to a new routine, climate, activity level, and foods.
Jet lag may also impact your glucose levels, so keep monitoring them closely as your body adjusts to the new location.
Keep an eye on the temperature if you are traveling somewhere warm. High temperatures, dehydration, and even sunburns can impact your glucose values.
Food and alcohol will of course affect your blood sugar levels. Don’t be afraid to try different foods, just keep a supply of hypo treatments with you, and test your glucose levels regularly.
8. Accessing diabetes supplies at your destination
There are people living with diabetes all over the world, and healthcare services are available almost everywhere - a nearby pharmacy is a good starting point if you need more medical supplies.
As mentioned, you may want to look up the nearest pharmacies and medical centers before you leave. Take your copy of your prescription with you to help explain what it is that you need, as the brand names may be different in different countries.
9. Keeping your insulin cool in hot climates7
If you’re heading somewhere hot, medically approved cooling packs will help keep your insulin from spoiling in the heat.
Remember to keep all of your diabetes supplies out of direct sunlight as much as possible.
If you’re staying in a hotel, contact them ahead of your departure to check if there will be a fridge in your room to store your insulin. Some hotels may be able to supply one if you explain that it’s for medical reasons.
Remember to stay hydrated and protect yourself and your insulin from the sun. But most of all, remember to have fun!
Share your experiences of traveling with Omnipod!
Do you have any inspiring travel stories with Omnipod? Have you overcome your travel fears for an amazing adventure? Has Omnipod helped you feel more confident about travel? Where have you taken your Pod?
Share them on Instagram and tag @omnipod to show the world what’s possible with type 1 diabetes!

Related Articles

Other topics
References and Disclaimers
*The Pod has a waterproof IP28 rating for up to 25 feet for 60 minutes. The PDM/Controller is not waterproof.
1- Brown S. et al. Diabetes Care (2021). Study in 240 people with T1D aged 6 - 70 years involving 2 weeks standard diabetes therapy followed by 3 months Omnipod 5 use in Automated Mode. Average time with high blood glucose in adults/adolescents and children, standard therapy vs 3-month Omnipod 5: 32.4% vs. 24.7%; 45.3% vs. 30.2%. Average time with low blood glucose in adults/adolescents and children, standard therapy vs 3-month Omnipod 5: 2.9% vs. 1.3%; 2.2% vs. 1.8%. Average A1c in adults/adolescents and children, standard therapy vs. Omnipod 5 = 7.16% vs 6.78%; 7.67% vs 6.99%. Study funded by Insulet.
2- Sherr JL, et al. Diabetes Care (2022). Study in 80 people with T1D aged 2 - 5.9 yrs involving 2 weeks standard diabetes therapy followed by 3 months Omnipod 5 use in Automated Mode. Average time with high blood glucose in very young children, standard therapy vs 3-month Omnipod 5: 39.4% vs. 29.5%. Average time with low blood glucose in very young children, standard therapy vs 3-month Omnipod 5: 3.43% vs. 2.46%. Average A1c in standard therapy vs. Omnipod 5 = 7.4% vs. 6.9%. Study funded by Insulet.
3- Pasquel FJ, et al. JAMA Network Open (2025). Prospective pivotal trial in 305 participants with T2D aged 18-75 yrs. Study included a 14-day standard therapy (ST) phase followed by a 13-week Omnipod 5 hybrid closed-loop phase. Mean time >180 mg/dL as measured by CGM: ST = 54%, 3-mo Omnipod 5 = 34%, P<0.001. Mean time <70 mg/dL as measured by CGM: ST = 0.2%, 3-mo Omnipod 5 = 0.2%. Mean HbA1c: ST vs. 13-week Omnipod 5: 8.2% vs. 7.4%, P<0.001.
4- Traveling With Diabetes | Johns Hopkins Medicine: https://www.hopkinsmedicine.org/health/conditions-and-diseases/diabetes/traveling-with-diabetes]
5- Diabetes and Travel Insurance: Everything You Need to Know | Allianz Global Assistance: https://www.allianztravelinsurance.com/travel/insurance-101/travel-insurance-diabetes.htm
6- What Can I Bring With Me on the Plane | American Diabetes Association: https://diabetes.org/tools-support/know-your-rights/what-can-i-bring-with-me-on-plane]
7- Tips for Traveling With Diabetes | Diabetes | CDC - Tips for Traveling With Diabetes | Diabetes | CDC: https://www.cdc.gov/diabetes/about/tips-for-traveling-with-diabetes.html
The Omnipod® 5 Automated Insulin Delivery System is indicated for use by individuals with type 1 diabetes mellitus in persons 2 years of age and older and type 2 diabetes mellitus in persons 18 years of age and older. The Omnipod 5 System is intended for single patient, home use and requires a prescription. The Omnipod 5 System is compatible with the following U-100 insulins: NovoLog®, Humalog®, and Admelog®.
Available products subject to current insurance coverage and product indication for use. Insulet can only support onboarding for those customers within the product indication.
Refer to the Omnipod 5 Automated Insulin Delivery System User Guide and www.omnipod.com/safety for complete safety information including indications, contraindications, warnings, cautions, and instructions. Warning: DO NOT start to use the Omnipod 5 System or change settings without adequate training and guidance from a healthcare provider. Initiating and adjusting settings incorrectly can result in over-delivery or under-delivery of insulin, which could lead to hypoglycemia or hyperglycemia.