Get your patients started with Omnipod® 5
A smooth start with Omnipod 5 begins with a few important steps
Set patient expectations and review Pod basics
A smooth onboarding experience begins with clarity. Set clear expectations about Omnipod 5 and ensure patients understand key system settings.
Setting patient expectations
Omnipod 5 is an automated insulin delivery (AID) system (hybrid closed loop) that adapts to each patient’s insulin needs over time. Tell patients to expect an adjustment period when starting the system.
During the first few Pods, the Omnipod 5 algorithm will record each patient’s real‑world daily insulin use and continuous glucose monitor (CGM) trends, using these data to fine‑tune AID and auto‑corrections every time a new Pod is activated.
Let patients know that they will get the best results when they alert the system to meals/snacks and bolus accordingly. As the system adapts, it may take some time to deliver the results they’re hoping for.
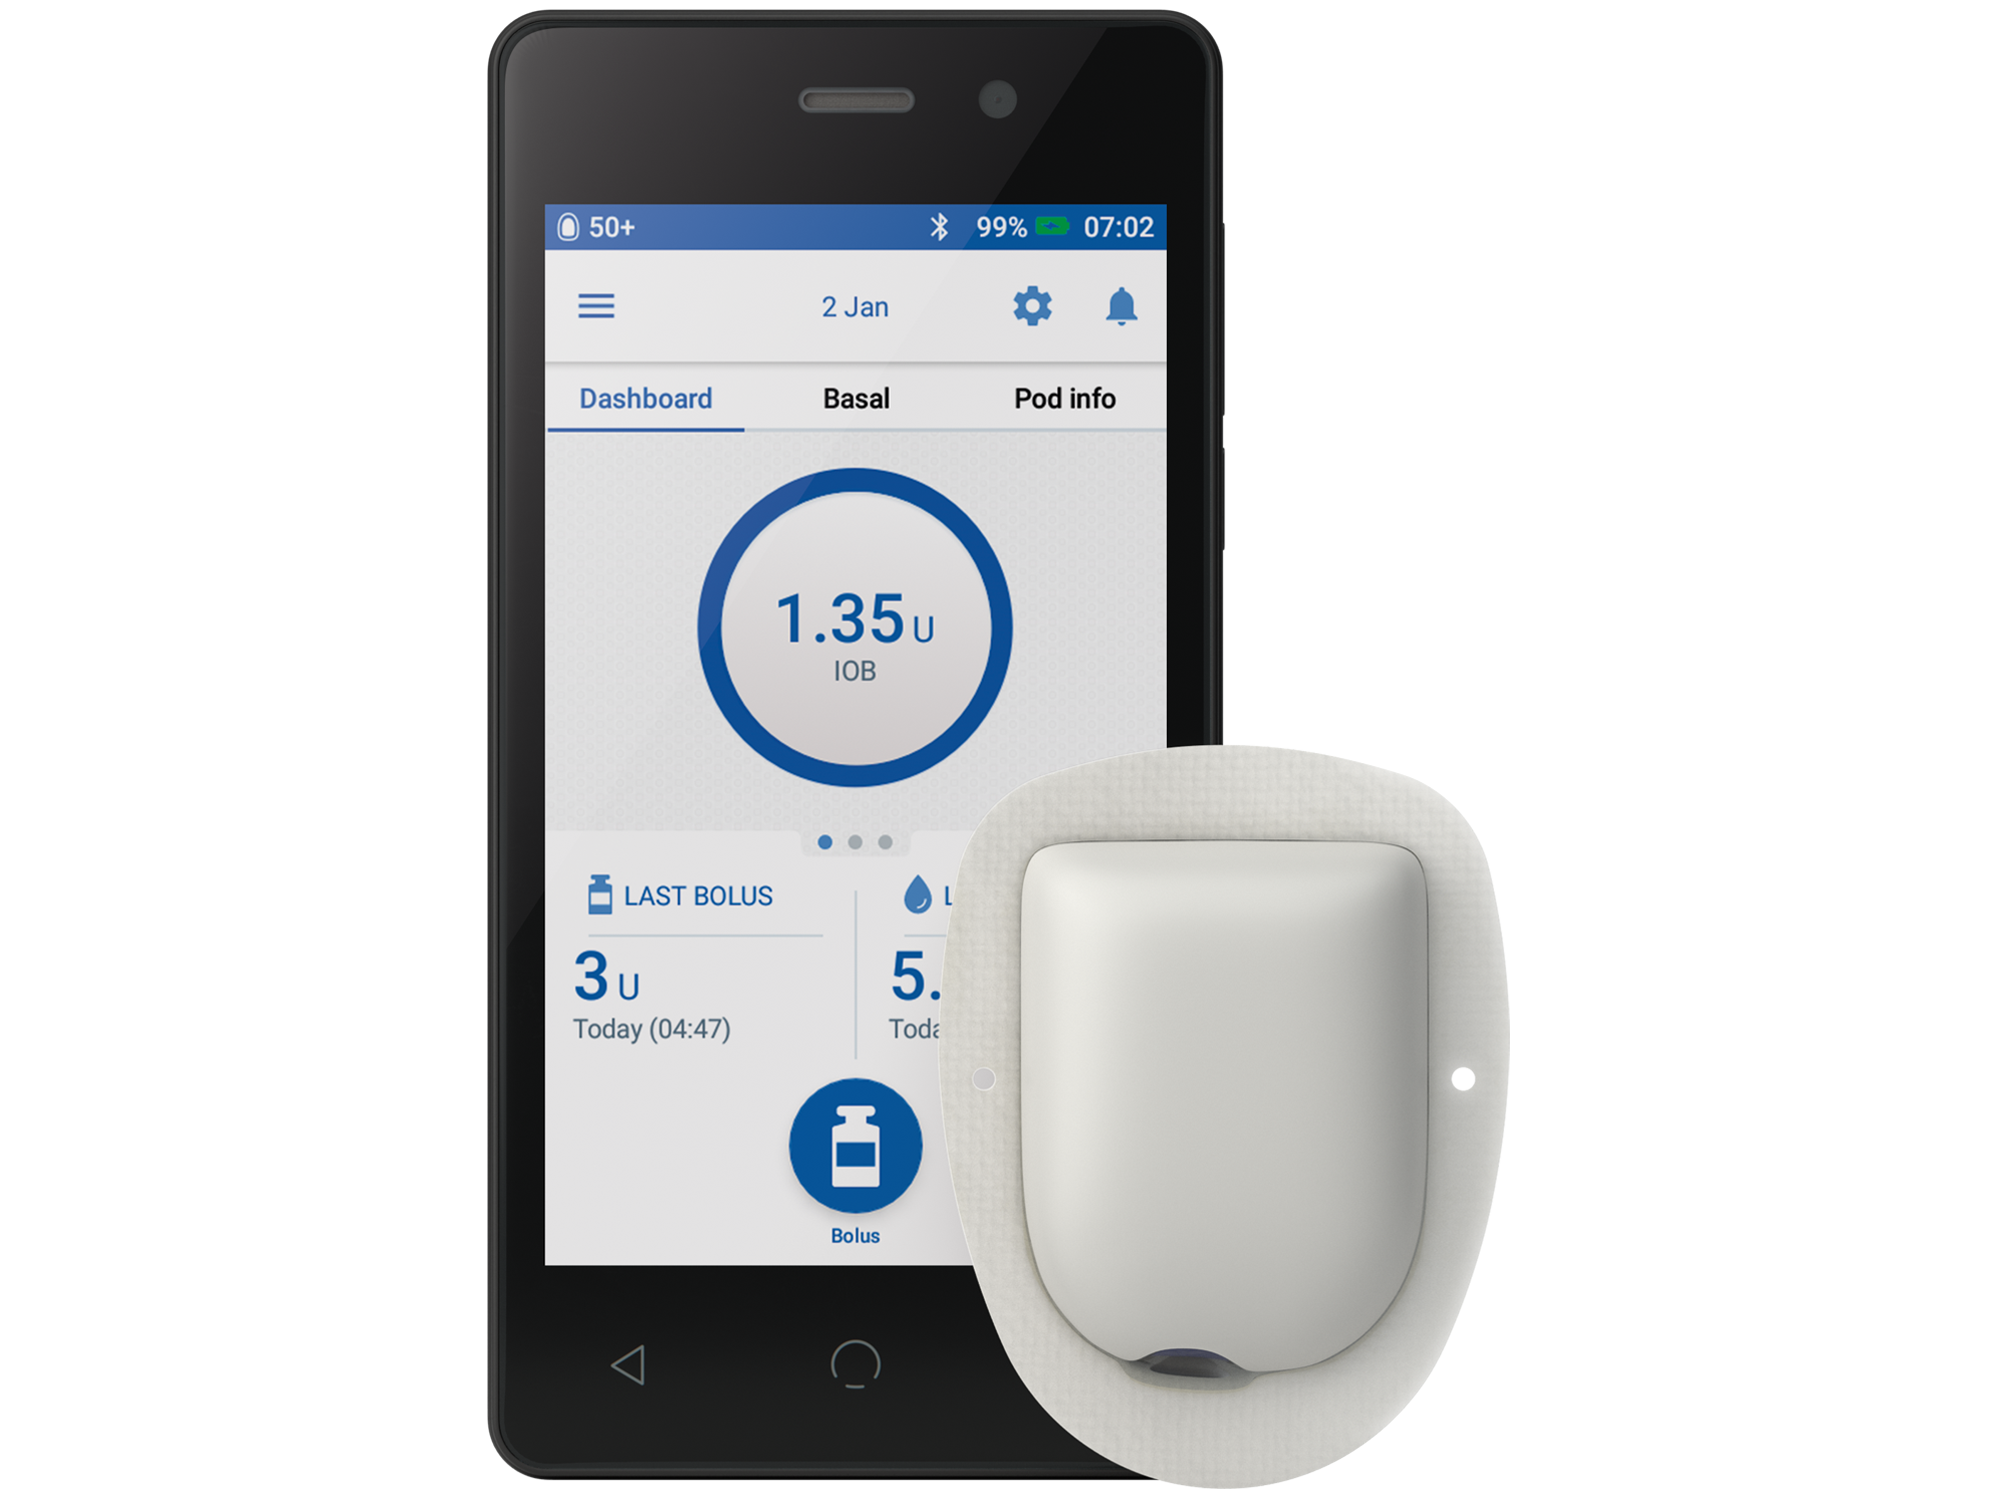
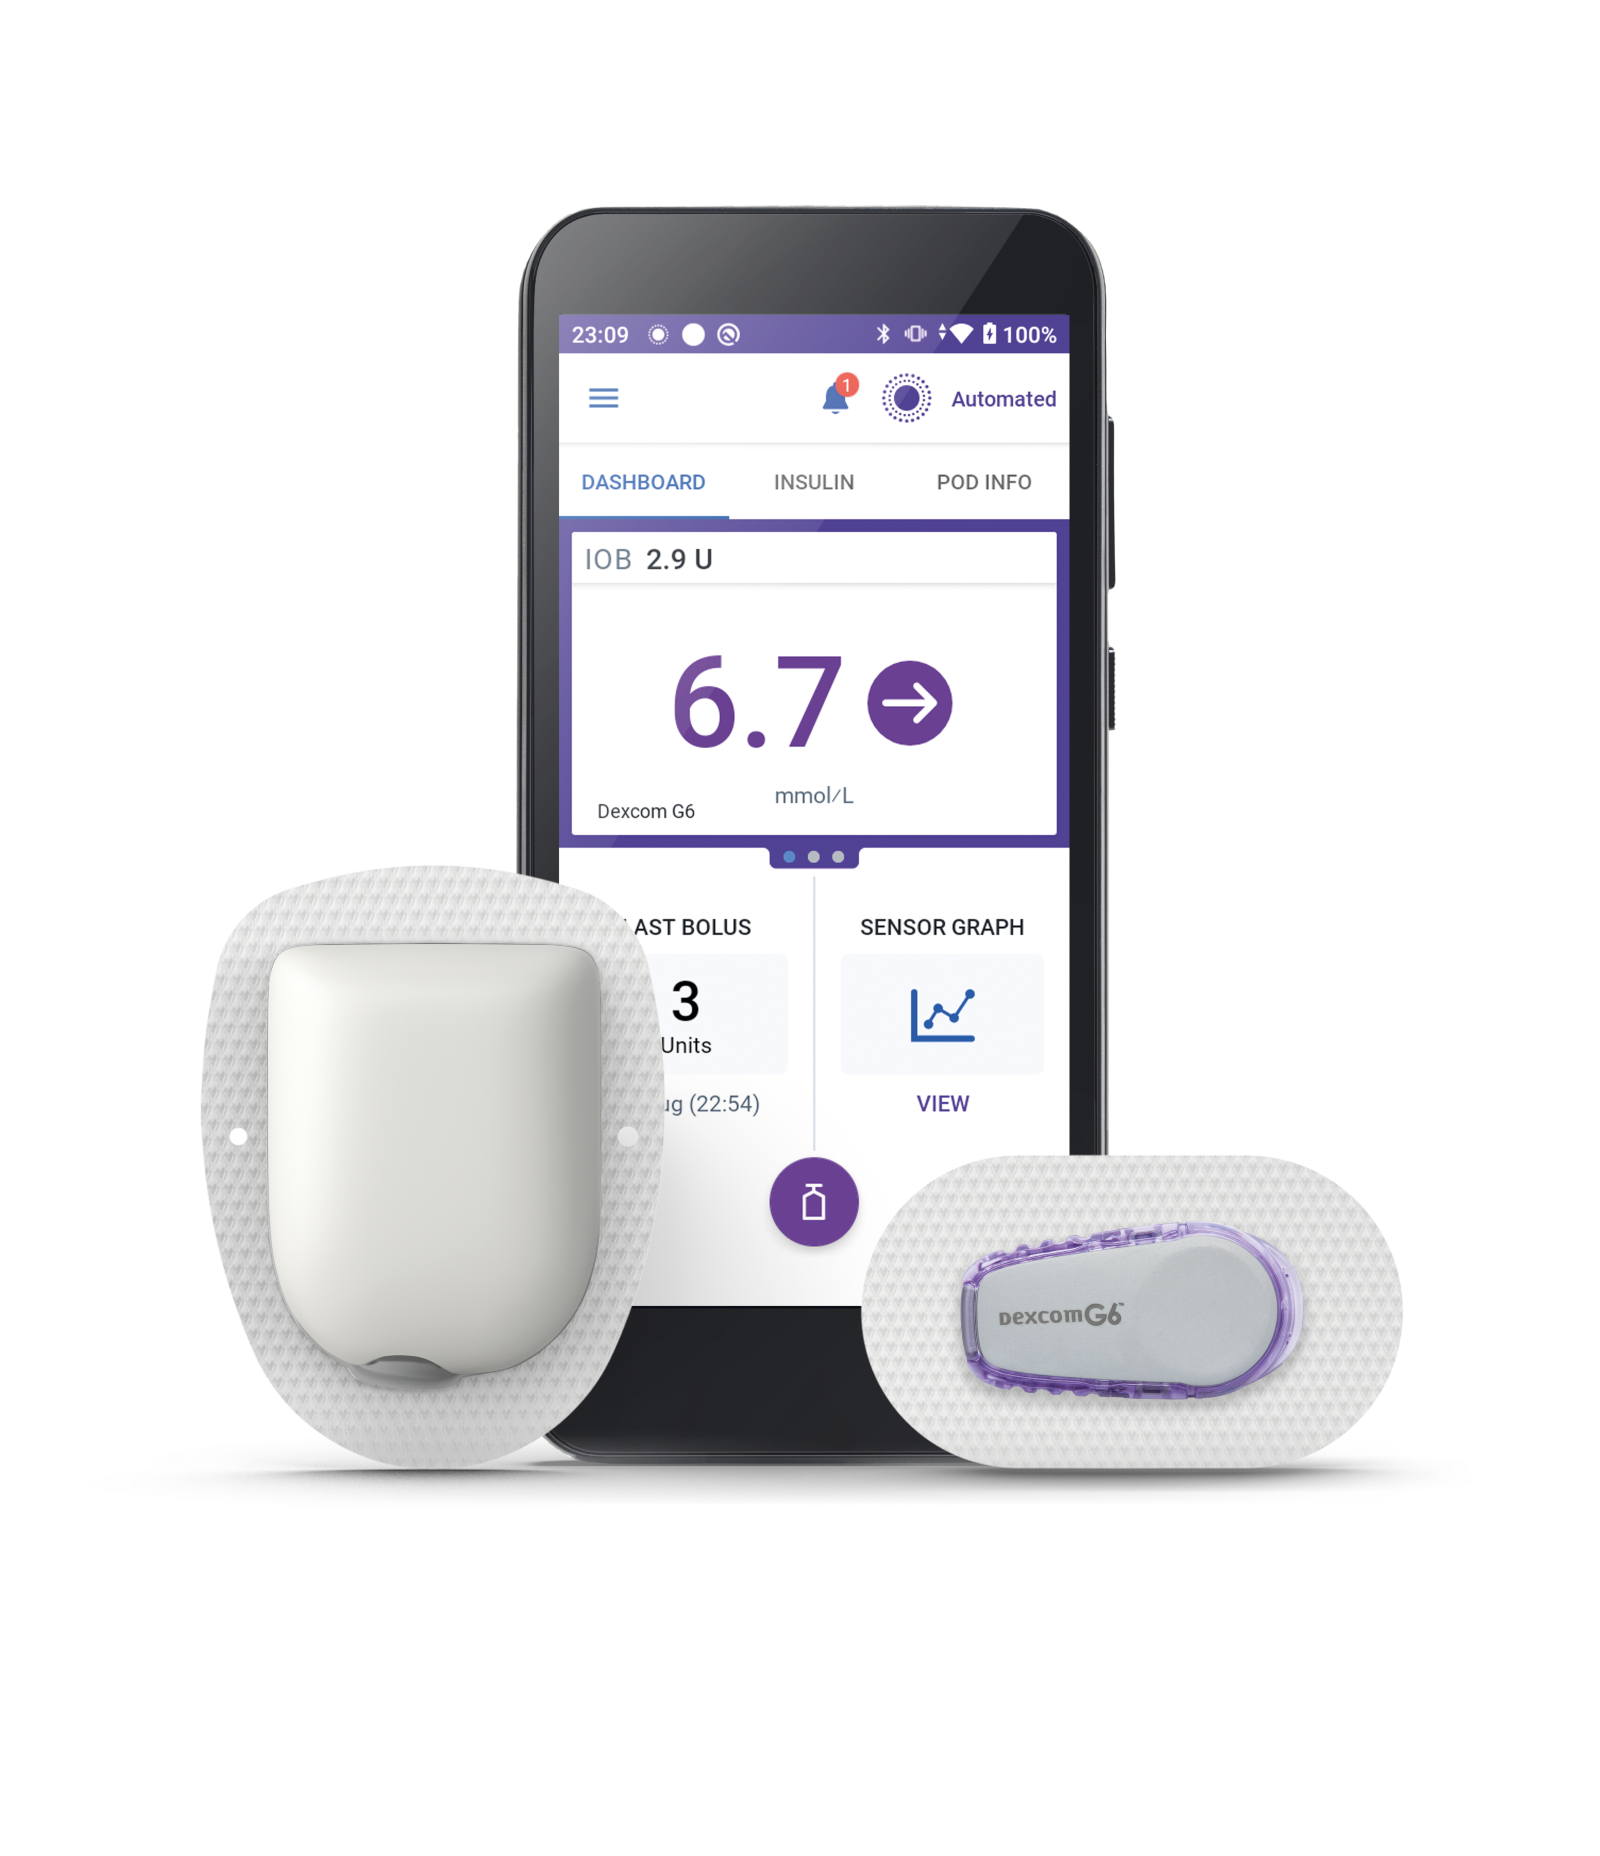
Ensure patients understand the 3 components of the Omnipod 5 system
Controller
The Omnipod 5 Controller allows you to activate and deactivate a Pod, announce food and deliver a bolus, and respond to alerts and alarms.
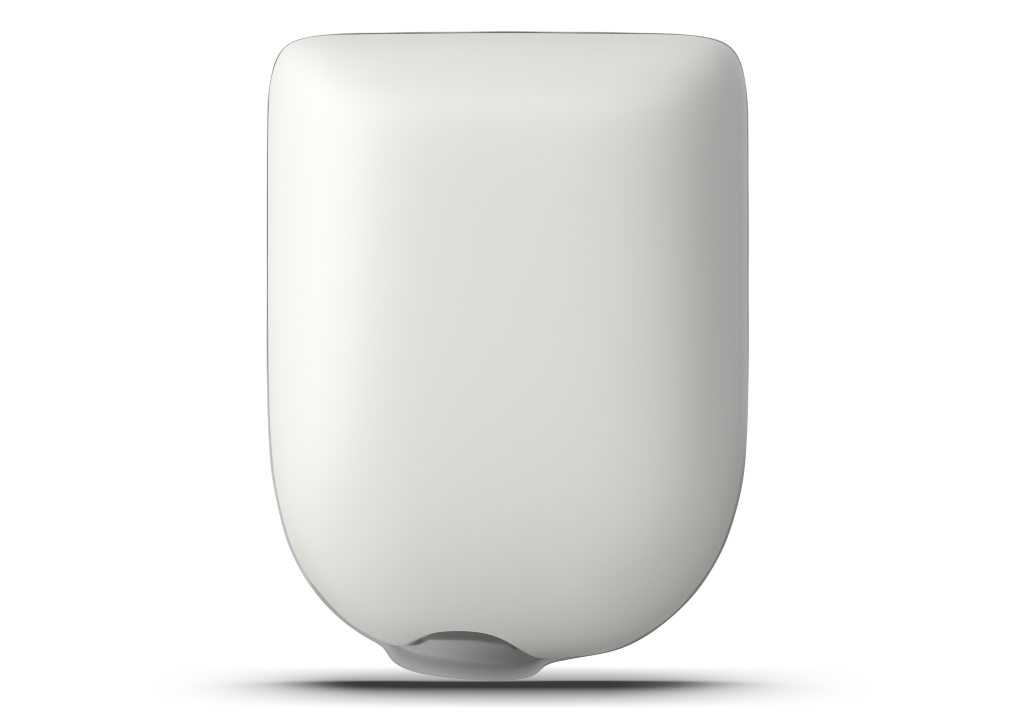
Pod
Tubeless, wearable, and waterproof*, the Pod sits right on your patient’s body and automatically† adjusts insulin delivery every 5 minutes for up to 3 days (72 hours).
Sensor
Continuously sends glucose values to the Pod, so your patients can get real-time data without fingerpricks.‡
Screen image is an example for illustrative purposes only. Pod shown without necessary adhesive.
Sensors sold separately and require a separate prescription.
*The Pod has an IP28 rating for up to 7.6 metres (25 feet) for up to 60 minutes. The Omnipod 5 Controller is not waterproof. Please consult sensor manufacturer user guide for sensor waterproof rating.
†Automated Mode requires compatible CGM Sensor.
‡Fingerpricks required for diabetes treatment decisions if symptoms or expectations do not match readings.
Initial system setup for your patients
For the complete steps required for initiation, see the User Guide and the Technical User Guide.
Before a patient’s first Pod, you must provide the following:
- Target glucose value [between 6.1 and 8.3 mmol/L (110-150 mg/dL)]
- Patient’s total daily insulin (TDI)
- Patient’s insulin-to-carb ratio
- Duration of insulin action
- Correction factor
Target Glucose:
Omnipod 5 lets you, the clinician, choose any Target Glucose value between 6.1 and 8.3 mmol/L (110–150 mg/dL), and the SmartAdjust™ technology will automatically steer insulin delivery towards this target.
TDI:
TDI is the total number of insulin units your patient uses in 24 hours. When you enter today’s TDI, Omnipod 5 will create an initial Adaptive Basal Rate at roughly 50% of that value. The system will automatically titrate up or down from here according to real-world patient needs.
After each Pod change, the basal rate is automatically adjusted based on the patient’s most recent TDI while also looking back at the last 4-5 pods, so after the initial setup, it will always start based on the patient’s recent, real‑world needs.
SmartAdjust™ technology assumes a TDI that is comprised of 50-60% of bolus insulin, with the rest being basal insulin. Therefore, bolusing remains a necessary part of AID therapy. Counsel your patients to always bolus for their meals and snacks. The Custom Foods feature can be used to conveniently enter common or specific foods previously saved.
SmartBolus Calculator:
When your patient is about to eat, the SmartBolus Calculator does the maths for them. The patient will enter the amount of carbs 10-20 minutes before the meal.
The SmartBolus Calculator then pulls in the current glucose value, sensor trend and insulin on board, and HCP-set values like insulin‑to‑carb ratio, correction factor, and the duration of insulin action, to calculate an insulin bolus.
You may need to periodically review and adjust your patient’s personalised bolus settings like insulin‑to‑carb ratio, correction factor, and the duration of insulin action.
Line of sight:
Pod + sensor* placement matters
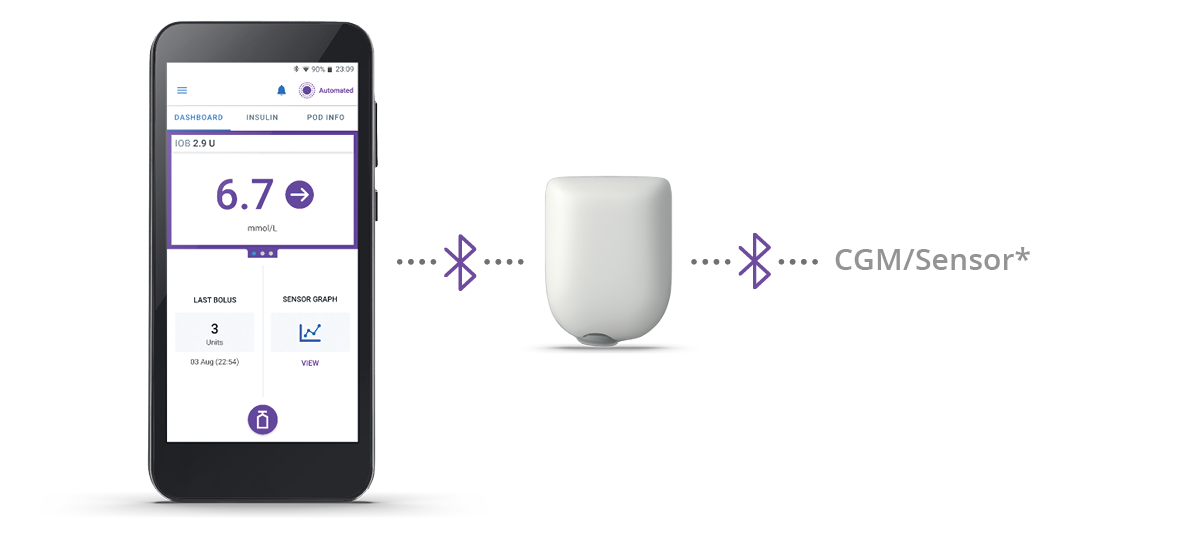
For the Pod to receive CGM sensor glucose values every five minutes, the two devices need a clear “line-of-sight.” This means that they must be worn on the same side of the body with no tissue blocking the Bluetooth® signal.
- Dexcom G7 sensor: keep Pod and sensor on the same side of the body, at least 8 cm (3 in) apart
- FreeStyle Libre 2 Plus: keep Pod and sensor on the same side of the body, at least 2.5 cm (1 in) apart
Encourage patients to plan their Pod and sensor sites together and to rotate within these “same‑side” zones.
Help your patients learn more about line-of-sight
Understand data management with Omnipod 5
Insulet provided Glooko®:
Glooko® is a data management platform that provides clear, actionable insights for enhanced treatment decisions. You can get automatic summaries and daily/weekly reports containing a patient’s time‑in‑range, total daily insulin, and basal‑to‑bolus ratios—so you can quickly spot trends and monitor patient progress.
Device settings report:
Every time a Pod uploads, pump settings are archived; use this report to verify Target Glucose, Insulin-to-Carbohydrate ratio, or Correction Factor without asking the patient each time.
CARES framework from the PANTHERTOOL®:
The CARES framework is a structured, research-backed way to help you turn data into action. It stands for Collect, Assess, Review, Educate, and Set goals. It consists of a simple, five‑step flow for interpreting Glooko® reports and translating insights into optimised pump settings.

Consolidate learning by turning theory into practice
Hear from your peers
Watch how expert HCPs educate, initiate, and support their Omnipod 5 patients
Personal Experience Kit
Suggest to your patients to try a demo Pod by requesting a Pod Experience Kit: real size, real weight, no insulin.
It’s a simple way for patients to experience how discreet and wearable Omnipod 5 really is.
Omnipod Simulator App
You and your patients can download the Simulator App for an interactive simulation and system overview of the Omnipod 5 AID System.
Omnipod Specialist for you
Have questions or need more information yourself? Your local Omnipod Specialist can answer questions, provide materials, and support your patient conversations.
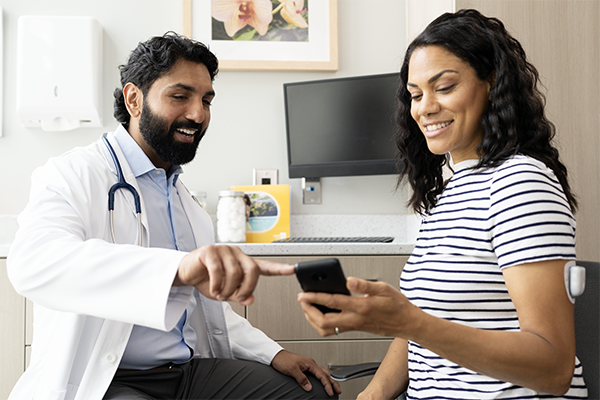
Omnipod Specialist for your patients
Help your patients take the next step with confidence. An Omnipod Specialist can walk them through next steps, answer questions, and simplify onboarding.
Get your patient ready for their first day with Omnipod 5
Before the first Pod is activated, walk through these five checkpoints to be sure data flows, supplies are on hand, and your patient feels confident.
Getting a successful patient start on Omnipod 5
Onboarding and connecting
Every patient must complete online onboarding before Omnipod 5 product training and initialisation.
You must provide your ProConnect code to each patient. With this secure code, patients will link their Omnipod ID and Glooko account with your clinic’s data portal. This only needs to be done once during set up.
Omnipod ID: A unique identifier assigned to each patient that links them to the Omnipod 5 system
Glooko® Account: Glooko® is the Omnipod 5 data management platform where Pod and sensor data are stored
ProConnect code: A secure code that links patient’s Glooko® account with your clinic’s data portal
Provide pre‑training resources
How‑to videos: Short clips on Pod changes, bolusing, and alarm troubleshooting
Pod Experience Kit: Demo Pod for practice
Sensor-specific guides: Dexcom G7 or FreeStyle Libre 2 Plus pairing walkthroughs*
Patients can find all of this in one place under “Omnipod 5 Prep” in our Pod University
During initial training, patients can expect to review: delivering a meal or correction bolus with the SmartBolus Calculator, replacing both Pod and the sensor on schedule, responding to controller alerts and alarms (like low reservoir, Bluetooth® disconnect, etc.), and more.
Schedule product training and gather supplies
Omnipod 5 Starter Kit
Compatible rapid acting insulin†
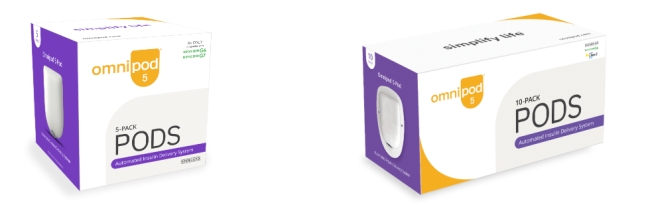
Compatible pods (Dexcom G7 Pod OR FreeStyle Libre 2 Plus Pod)
Patients must come to the training already wearing their CGM sensor (Dexcom G7 OR FreeStyle Libre 2 Plus sensor)*
The Dexcom G7 Sensor must be used with the Dexcom G7 app. The Dexcom G7 receiver is not compatible. A separate prescription is required for the sensors. Sensors are sold separately. Refer to the sensor manufacturer user guide.
†NovoLog®/NovoRapid®, Humalog® / Liprolog®, Admelog® / Insulin lispro Sanofi®, Trurapi® / Insulin aspart Sanofi®, and Kirsty® U-100 insulin are compatible with the Omnipod 5 System for use for up to 72 hours (3 days).
Learn more about getting a successful start on Omnipod 5
See helpful tips for patient training and onboarding.
Stay updated on the best initiation practices through our Omnipod 5 blog
Our blog helps you stay sharp with tips, tools, and real-life peer experiences.
Example case-studies
See how these real-life patients got a successful start on Omnipod 5
Support your patients beyond the prescription
Discover practical tips, tools, and clinical guidance to help your patients thrive on Omnipod 5.