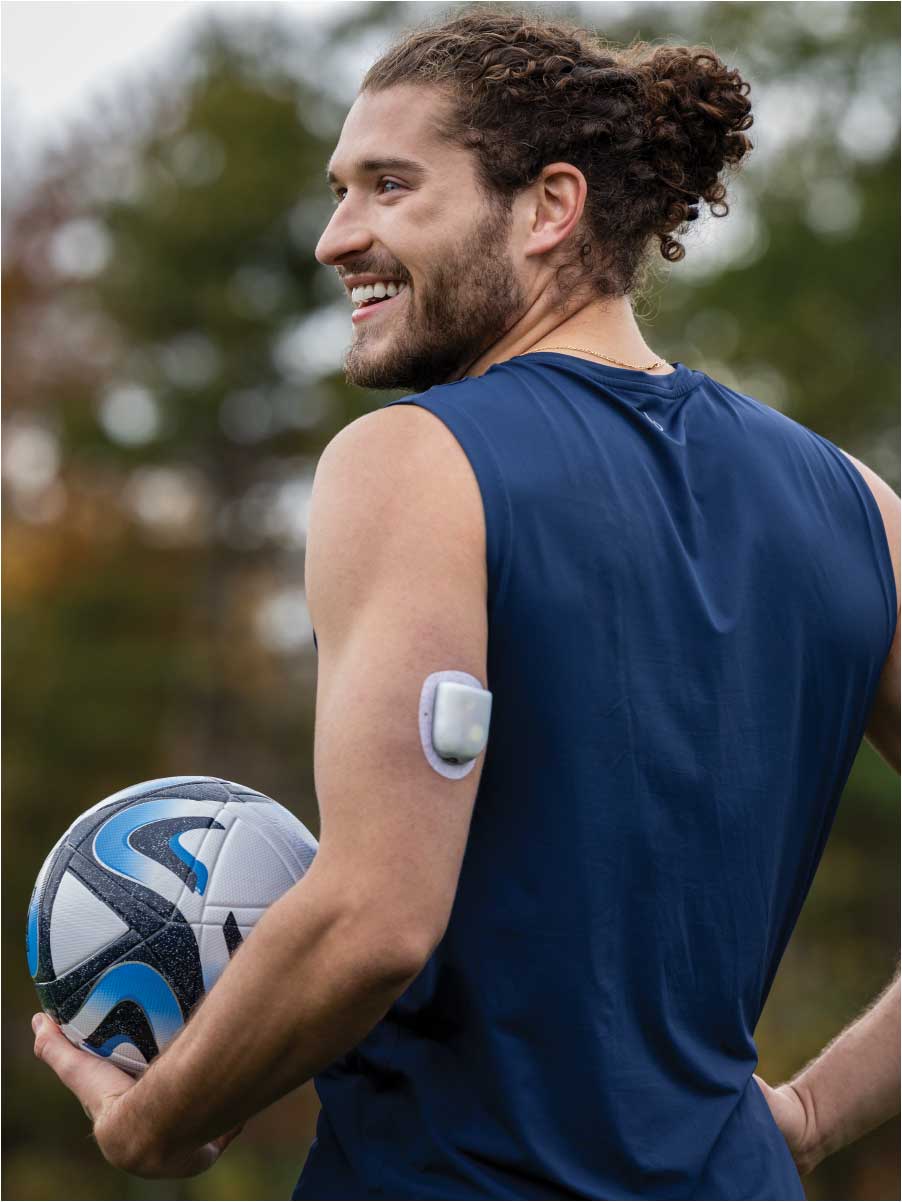
Why Line-of-Sight Between Pod and CGM Sensor is Crucial
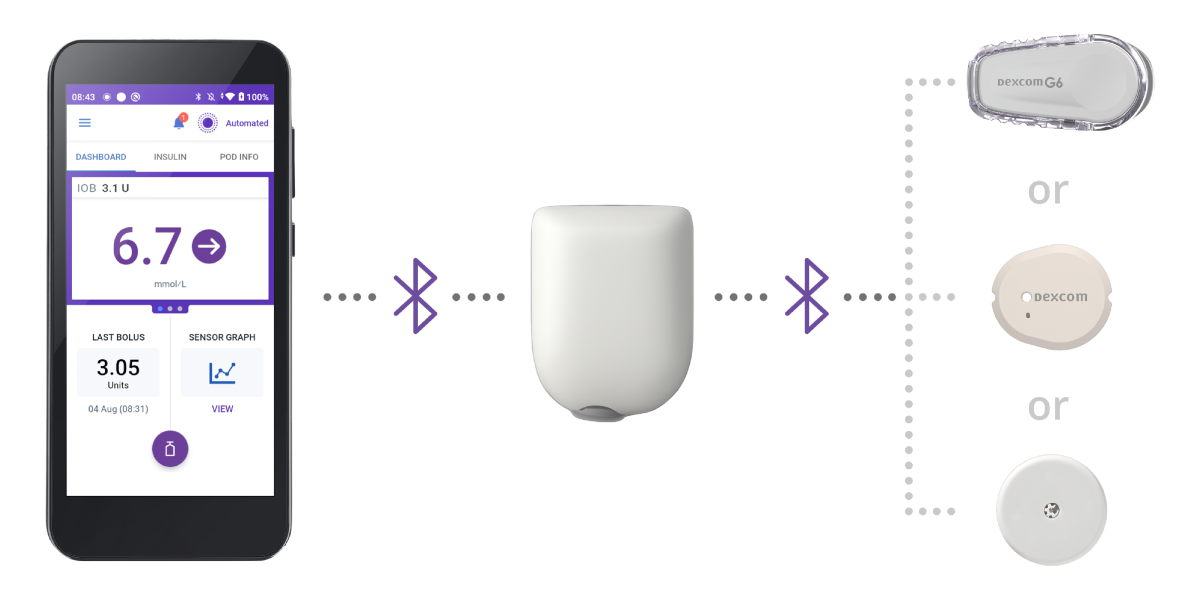
In automated insulin delivery (AID) (also known as hybrid closed-loop) systems, reliable connectivity between continuous glucose monitor (CGM) sensors and the insulin delivery device is essential. For Omnipod® 5, the best way to ensure a strong connection is by maintaining a clear “line-of-sight” — that is, ensuring that the line between the Pod and CGM sensor is not blocked by the body. This supports uninterrupted Bluetooth® communication and helps optimise time in Automated Mode.1 While Omnipod 5 does include built-in safety features in order to continue to deliver insulin despite signal loss, this is obviously suboptimal.
Screen image is an example for illustrative purposes only. Pod and Sensors shown without necessary adhesive. Sensors sold separately and require a separate prescription.
Help your Patients Optimise Pod and CGM Sensor Placement
Educating patients on proper Pod and CGM sensor placement is essential for improving the performance of the Omnipod 5 system and simplifying their insulin management. Here’s what to recommend to your patients:
Keep devices in “line-of-sight”
Minimise body interference with signal transmission by positioning the Pod and CGM sensor on the same side of the body. Tell patients that Omnipod 5 works best when the Pod and the CGM can “see” each other.
Maintain recommended distance
For optimal connectivity, Pod and CGM sensor should be placed between 2.5 cm (1 inch) or 8 cm (3 inches) apart, depending on the sensor used.
Adjust Pod orientation based on site
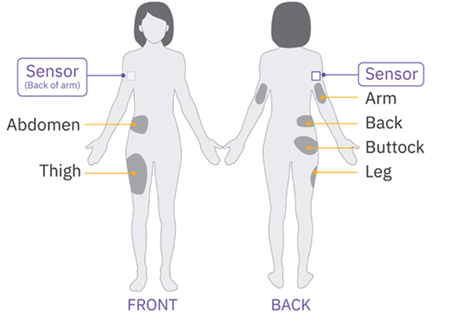
For adults: Back of arm or thigh: Position the Pod vertically or at a slight angle. Abdomen, lower back, or buttocks: Position the Pod horizontally or at a slight angle.
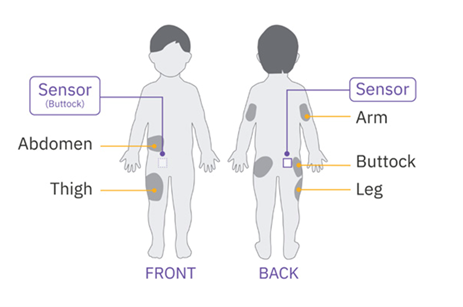
For children: Back of arm or thigh: Position the Pod vertically or at a slight angle. Abdomen or buttocks: Position the Pod horizontally or at a slight angle.
Please refer to the Omnipod 5 “User Guide” for relevant CGM sensor details.
Pod & CGM Placement Tips
Sensor Location:
Back of Arm
Recommended Pod Placement:
Same arm as sensor
Same side: abdomen, thigh, upper buttocks
Same side, lower back (adults only)
Opposite side, back of arm
Sensor Location:
Abdomen
Recommended Pod Placement:
Same side: abdomen, thigh, upper buttocks, back of upper arm
Opposite side: abdomen
Same side, lower back (adults only)
Sensor Location:
Buttock
Recommended Pod Placement:
Same side: buttock, abdomen, thigh]
Opposite buttock
Either arm (back side)
Illustration for example only. Please refer to CGM/sensor user guide for approved sensor placement and separation distances.
Tips for Responding to Connectivity Challenges Between Pod and CGM
Image
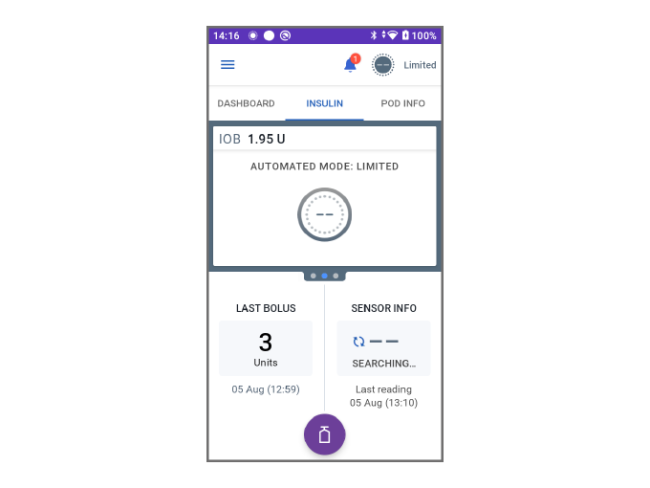
Temporary sensor disconnection can occur. Signs of disconnection include:
Dashes in place of sensor values
Automated Mode: Limited displayed after 20 minutes
Alarms from the Pod and Controller after 60 minutes
To help resolve these issues, advise patients to:
Check their Pod and CGM sensor are in direct “line-of-sight” and, if possible, move them closer to each other (Pod and CGM sensor should be 2.5 or 8 cm [1 or 3 inches] apart, depending on the sensor used)*
Adjust placement at the next device change to improve the “line-of-sight”
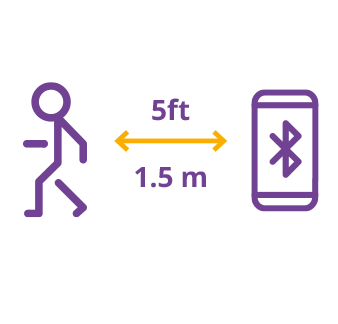
Keep their Controller within 1.5 metres (5 feet) for alarms and sensor messages†
Review in-app notifications on their phone regarding their sensor‡
By helping patients understand these steps, you can reduce insulin interruptions and support better glycaemic outcomes.
Image
Note: While the system continues to deliver insulin in Automated Mode: Limited, it no longer adjusts dosing based on predicted glucose values. Instead, it delivers the lower of the adaptive or manual basal rates every five minutes until CGM sensor communication resumes.
Pod and CGM Placement: Your Top Questions Answered
How can I simplify Pod-CGM sensor placement education during visits?
Use visual tools like the Pod–CGM sensor placement diagrams and focus on the three key “line-of-sight” messages: (1) keep devices on the same side, (2) maintain a short distance, and (3) avoid body obstruction. Reinforcing these principles with each Pod or CGM sensor change builds confidence, reduces connectivity issues, and supports sustained use of Automated Mode.
What is the ideal distance between the Pod and CGM sensor?
The recommended distance between the Pod and CGM sensor is 2.5 or 8 cm (1 or 3 inches, depending on the sensor used).* This spacing helps ensure reliable Bluetooth® signal strength and minimises the system entering Automated Mode: Limited due to lost CGM sensor data.
How should patients respond to Automated Mode: Limited?
If Automated Mode: Limited is triggered, advise patients to check if the Pod and CGM sensor are properly aligned. At the next change, they should reposition the devices to improve “line-of-sight” and, if necessary, move the devices closer together (Pod and CGM sensor should be 2.5 or 8 cm [1 or 3 inches] apart, depending on the sensor used*). Keeping the Controller within 1.5 meters (5 feet) can also help with alerts and system interaction.
When might a Pod-CGM sensor connection disruption occur?
Temporary communication issues between the Pod and CGM sensor can happen when the devices are not in “line-of-sight”, such as when the body is blocking the signal. This is more likely to occur:
if the Pod and CGM sensor are placed on opposite sides of the body
To minimise these disruptions, patients should place their Pod and CGM sensor on the same side of the body, keep them 2.5 or 8 cm (1 or 3 inches) apart, depending on the sensor used*, and ensure the Controller stays within 1.5 metres (5 feet) for alerts/alarms.
* Please refer to Omnipod 5 User Guide for relevant sensor details.
†Varies based on compatible sensor.
‡Where the compatible sensor is controlled by a Smart device App.
The Omnipod 5 Automated Insulin Delivery System is a single hormone insulin delivery system intended to deliver U-100 insulin subcutaneously for the management of type 1 diabetes in persons aged 2 and older requiring insulin. The Omnipod 5 System is intended for single patient use. The Omnipod 5 System is indicated for use with NovoLog®/NovoRapid®, Humalog®, Trurapi®/Truvelog®/Insulin aspart Sanofi®, Kirsty®, and Admelog/Insulin lispro Sanofi U-100 insulin. Refer to the Omnipod 5 Automated Insulin Delivery System User Guide and www.omnipod.com/safety for complete safety information including indications, contraindications, warnings, cautions, and instructions.
1. Marks B, Meighan S, Zehra A, et al. Real-World Glycemic Outcomes with Early Omnipod 5 Use in Youth with Type 1 Diabetes. Diabetes Technol Ther. 2023; 25(11):782-789.